Going North – Exploring the Nordic Light
About the Author
I am a Full-Time professional landscape and time-lapse photographer focusing on Northern Europe, leading photo tours with an emphasis on the Nordic Light.
Nordic Light is the most incredible light I have ever seen. It has generated in me a boundless passion which is a huge privilege to share with others how to capture this amazing light.
How it all Started
My interest in photography started at the age of 7 when I got my first camera, an AGFA Optima 500. I made my first tentative steps exploring nature and before long it became a consuming passion for me. Today, I enjoy photographing nature more than ever.
At the age of 13, I bought my first SLR camera a Praktica B200S, with my own money. It is, unbelievably, still fully functional. Over the years I took a number of Photography Masterclasses, developed my skills and grew with the Nikon cameras I acquired.
The Defining Olympus Moment
On a Scottish tour in early 2015 I was carrying a heavy backpack with my Nikon D750, a few lenses, a tripod and filters. I found that the enormous weight of my backpack was starting to ruin the experience. I needed to start thinking about equipment which allowed mobility without sacrificing image quality.
After extensive research I made the decision to buy the Olympus MFT camera system. I started out with the Olympus E-M1 Mark I and the E-M5 Mark II along with the M.Zuiko 12-40mm f2.8 PRO and 40-150mm f2.8 PRO lenses and upgraded the E-M1 to the E-M1 Mark II in January 2017.
Why I chose Olympus
- The reduced weight of the camera body and lenses allow me to travel light, as mobility is key for me.
- The compact size of body and lenses allow me to pack all the necessary equipment for every tour into my backpack so I never find I have left that essential piece of equipment at home.
- The image quality of the M.Zuiko lenses is outstanding.
- The functionality Olympus offers in their cameras is second to none. Here are just a few of the really useful features which are hard to find in a single camera:
- Live Time
- Live Time Composite
- HiRes Mode (80MP Images)
- Focus Peaking (both in AF-S and M)
- Lens Clutch mechanism (Mechanical switch between AF-S/C and M)
- Changing the boundaries of the Histogram (To avoid clipping in shadows and highlights before they actually start clipping) (I have mine on B2 and W253)
- Customisation of the camera
As I shoot in all weather conditions, my other key requirement was for a camera to be robust enough to function in even the most adverse conditions. With Olympus, I found a system which is not only perfectly weather-sealed, but also operates no matter what the temperature is. I have put the camera through heavy rain, heavy snowfall, hail and sustained temperatures of up to -40°C and photographing the Aurora Borealis for many hours under extreme cold conditions. The system has never failed.
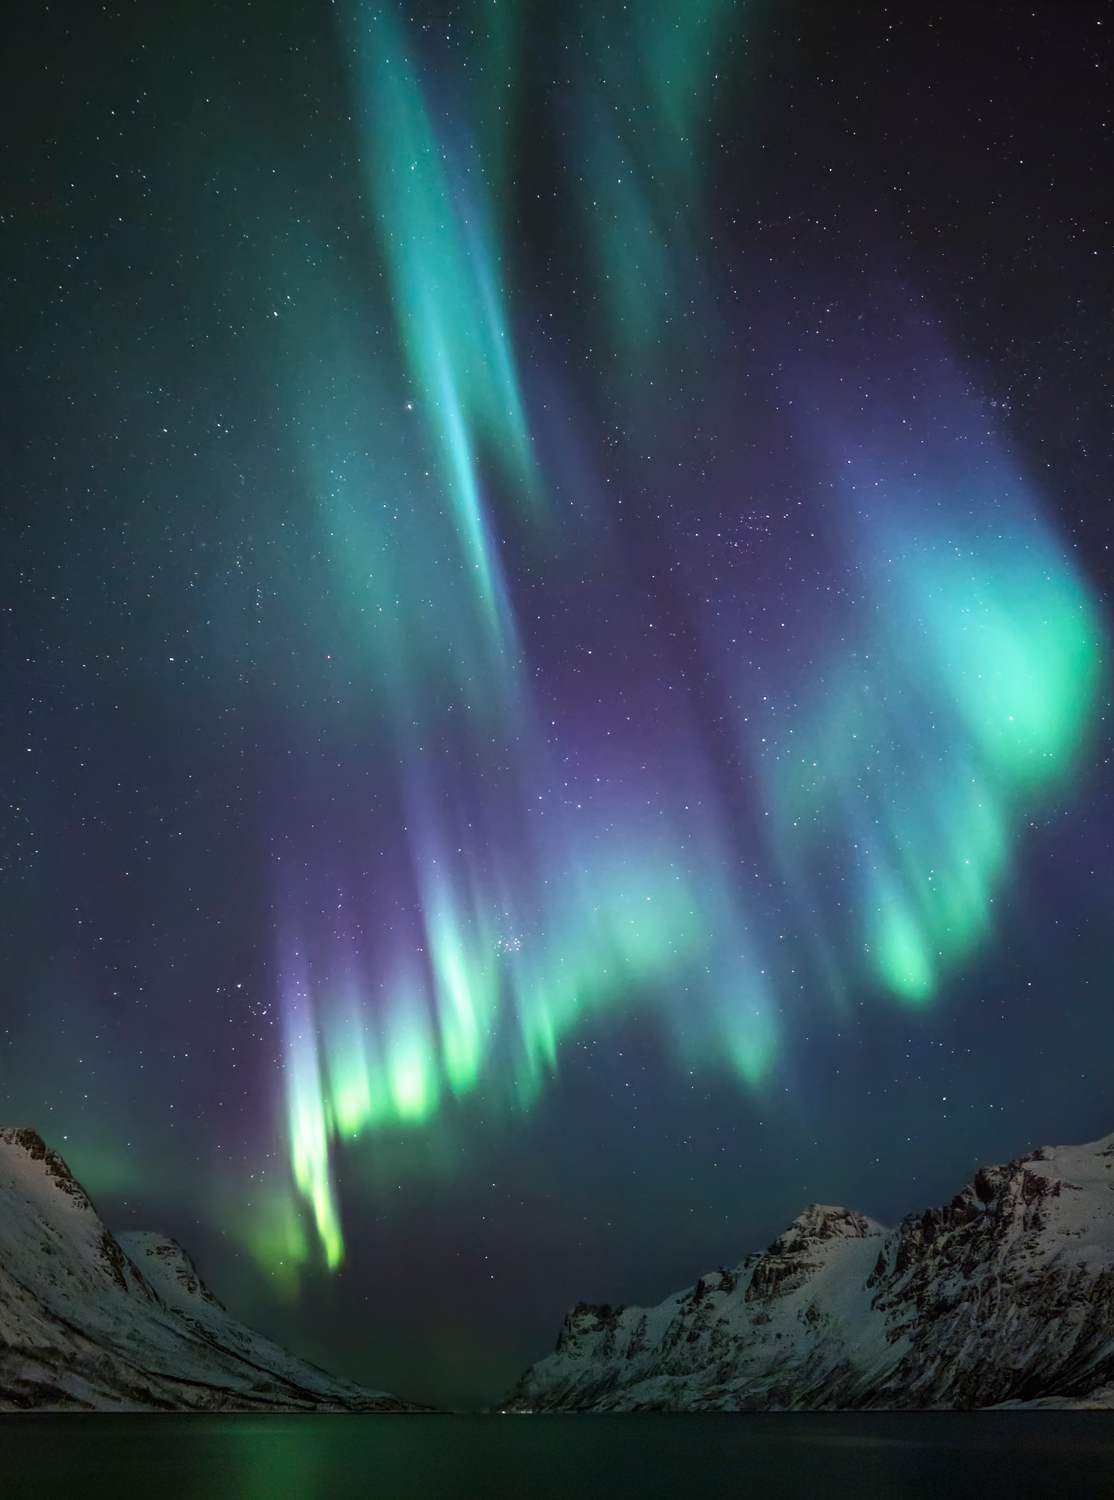
Over the years I have used a variety of L-brackets and have come to the conclusion that the 3-legged Thing L-bracket is best for extremely cold conditions as it seems to transport less cold into the camera than other brackets.
The Olympus battery life under cold conditions is also excellent. On a cold day and night I usually only need 2 batteries. I always keep my spare near my body so it keeps warm and keeps its full charged until it‘s needed.
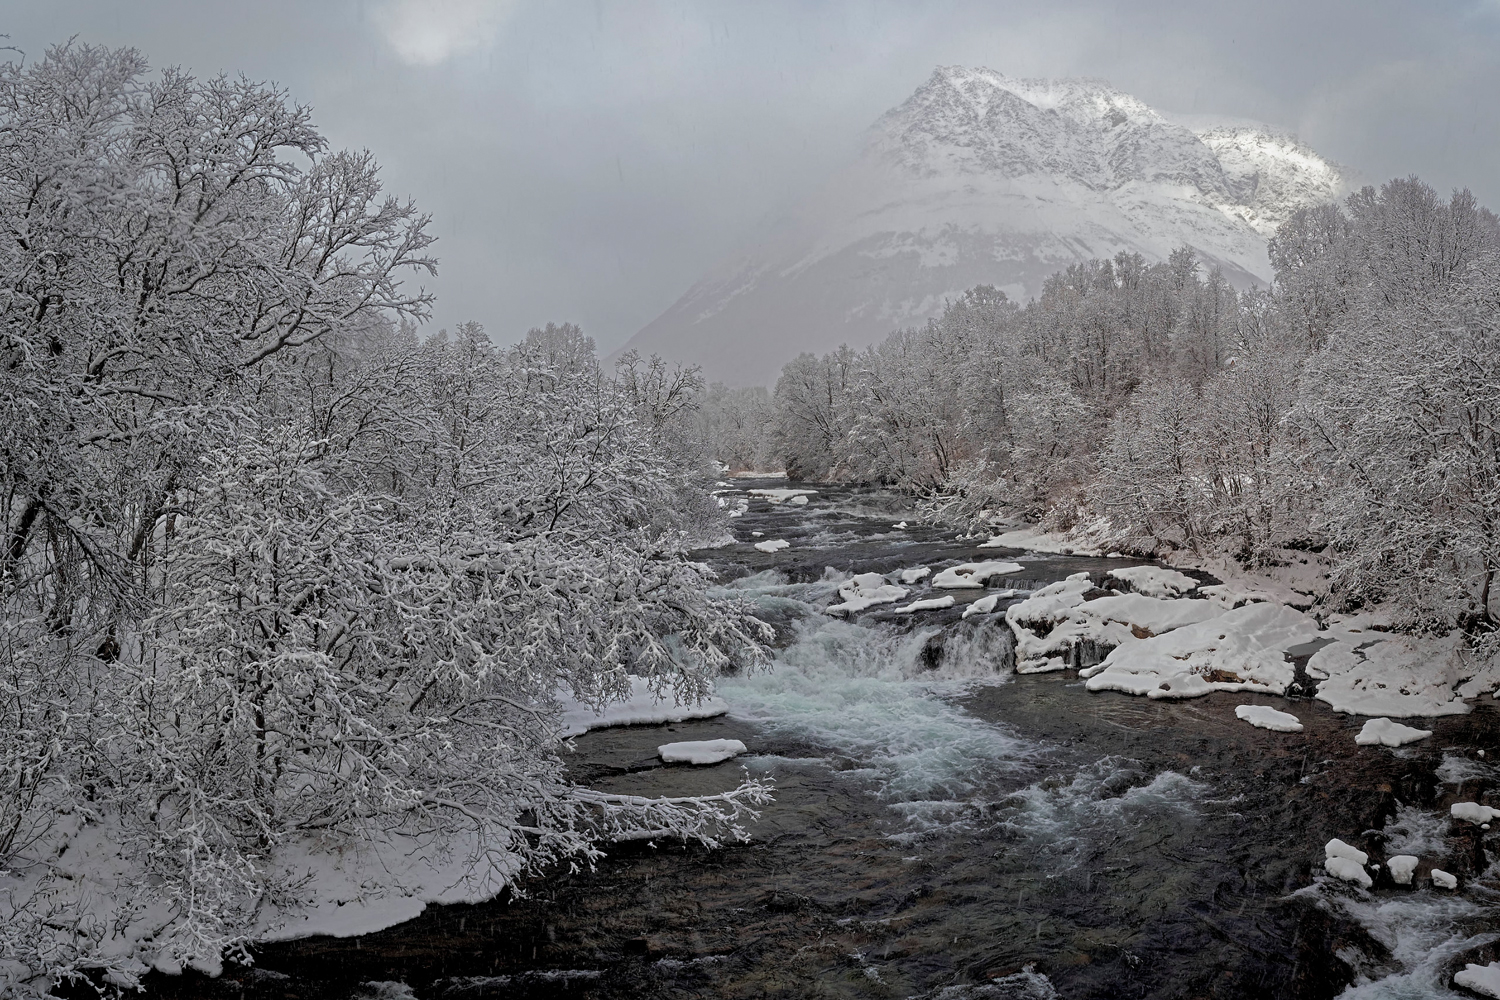
The Changing Seasons of the North
I was born and raised in the northern parts of the Netherlands. I have always had an affinity with the sea and the north. Many years ago I discovered my love for the Nordic Countries and now travel there as often as I can. The solitude and drama of the landscape in Norway, Sweden and Finland are a source of constant wonder for me. Breathtaking landscapes and seascapes appear at every turn in the road, waiting to be captured.
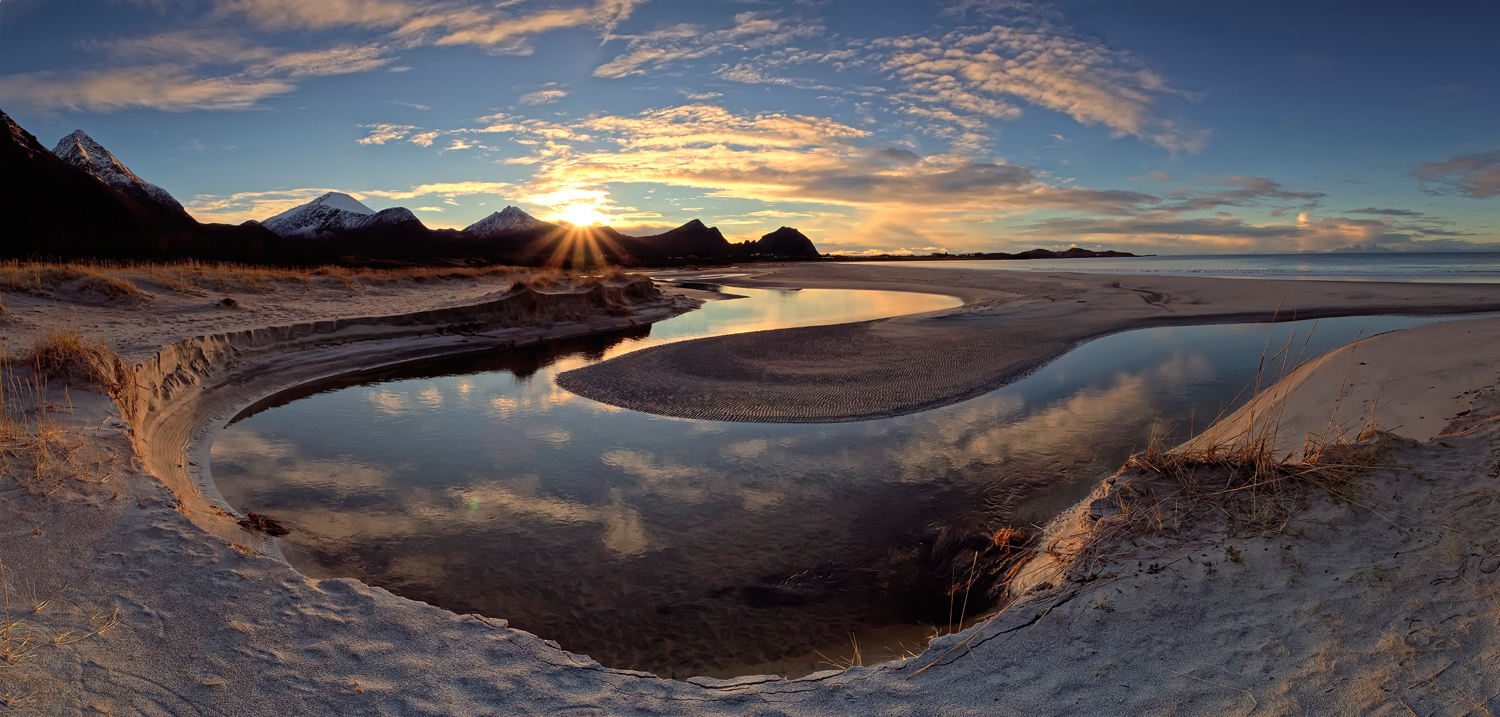
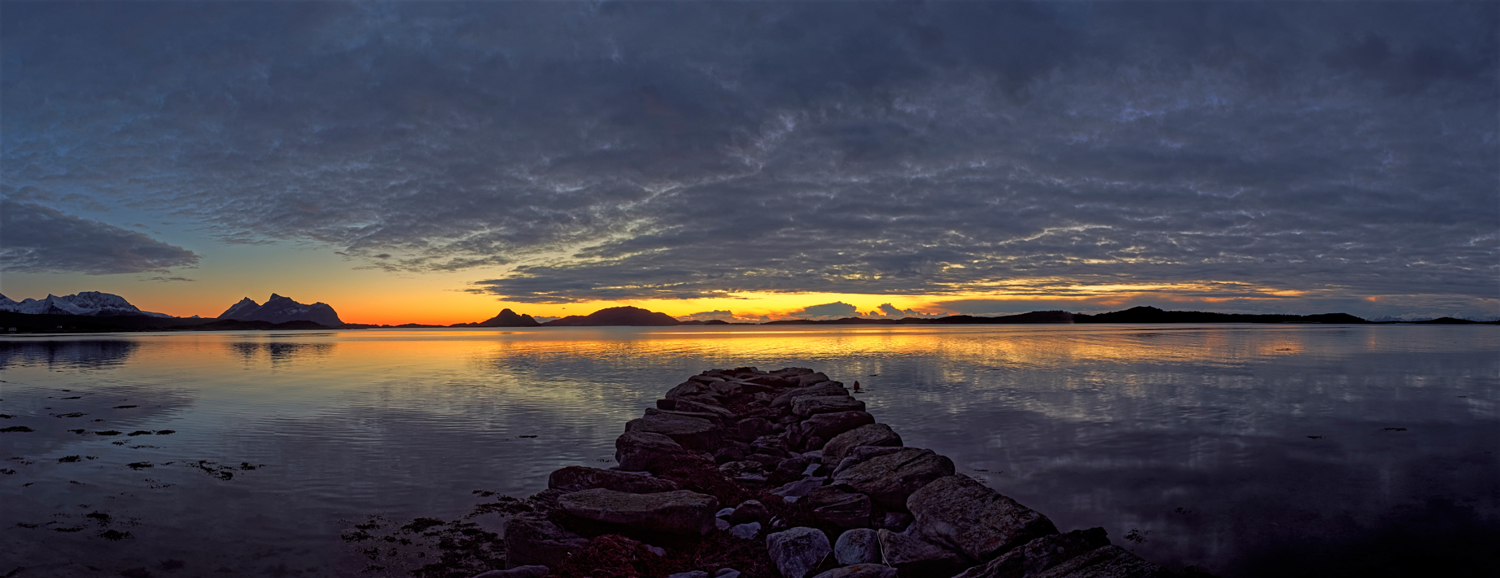
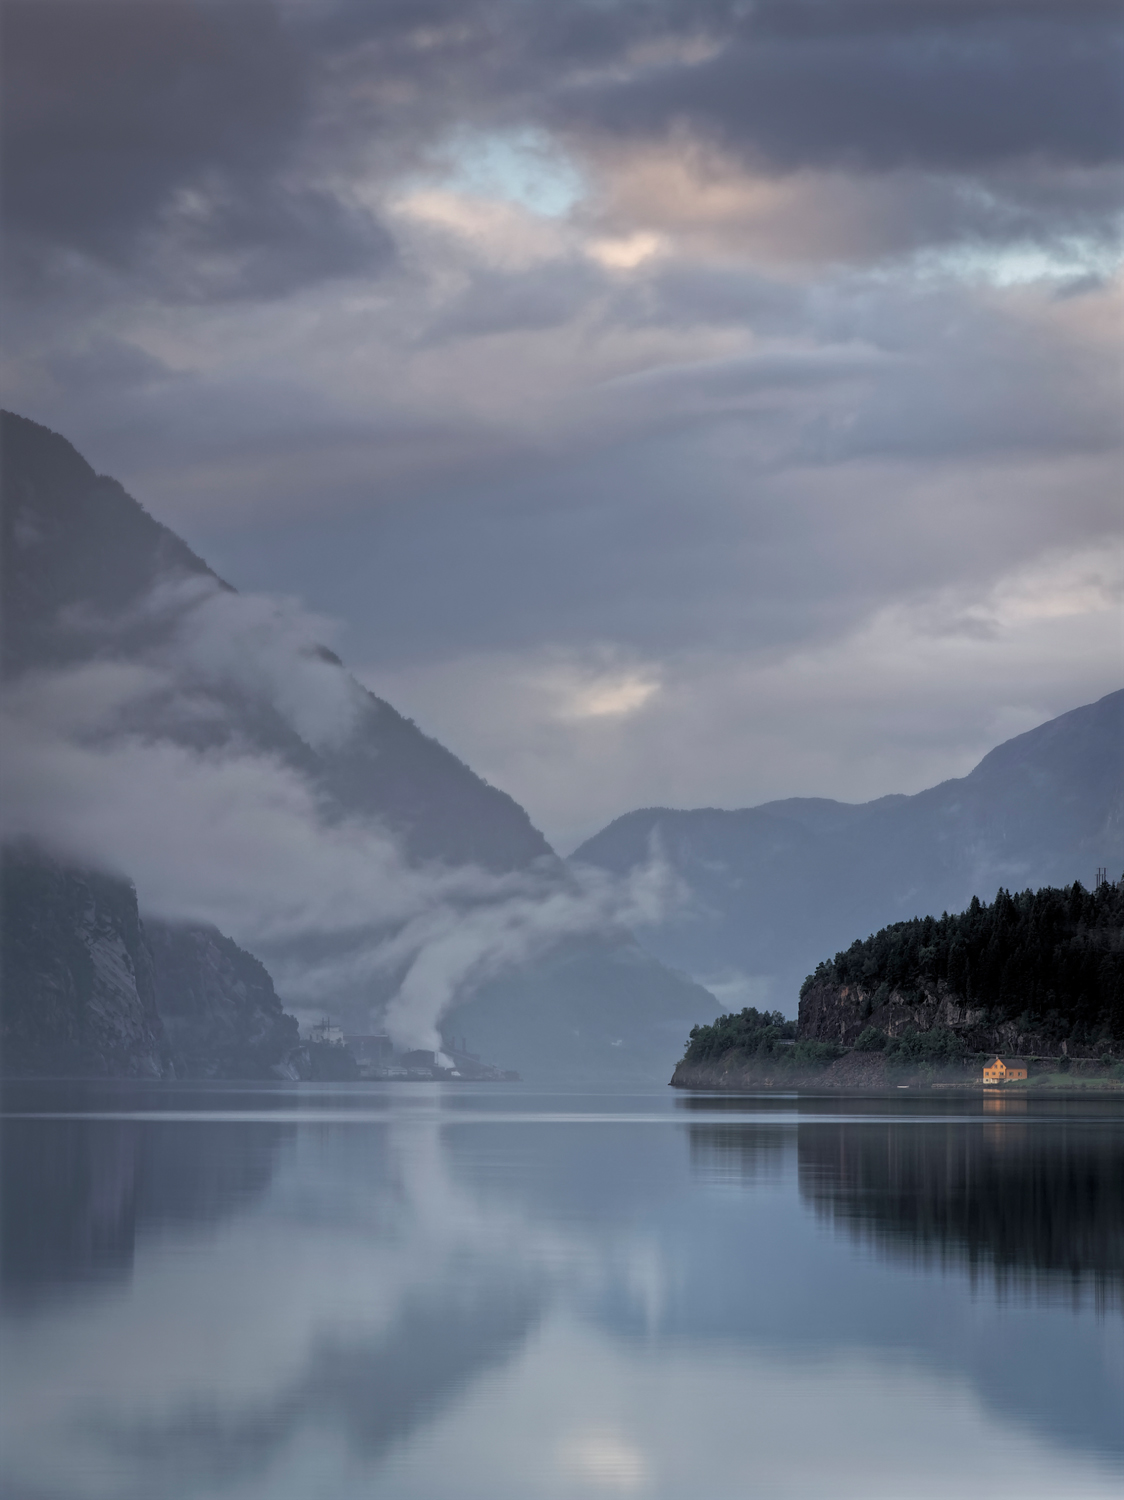
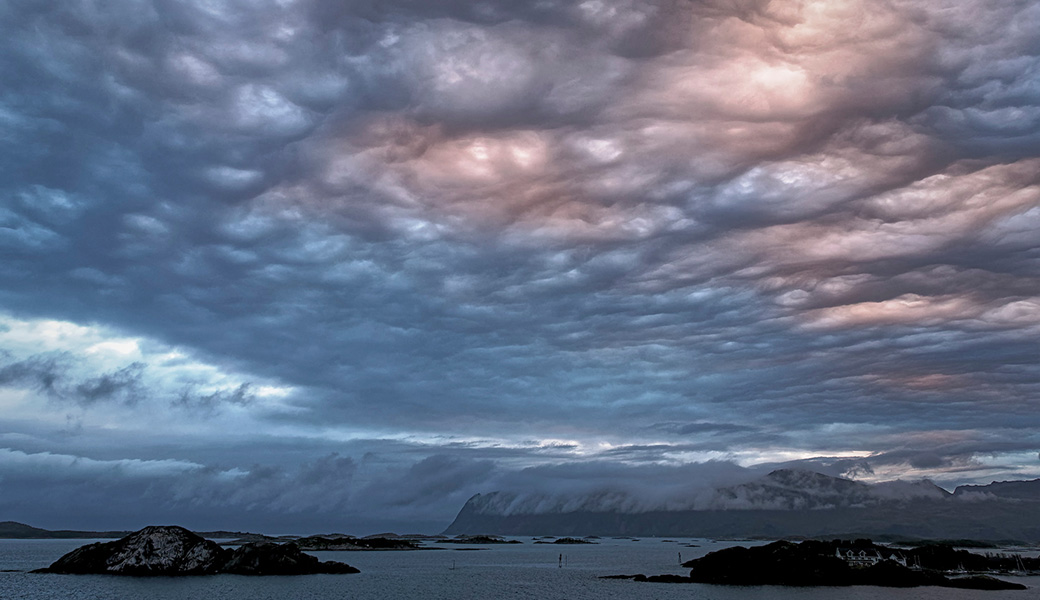
In my opinion, it is the light which makes one image stand out from another. In the northern countries the light is very different. I call it Nordic Light – although of course, similar light can be experienced in Iceland, the Shetlands and other countries near or in the polar circle. You have to see it to really understand the difference. It seems sharper, clearer, brighter, yet softer and with more tonal variation than anywhere else.
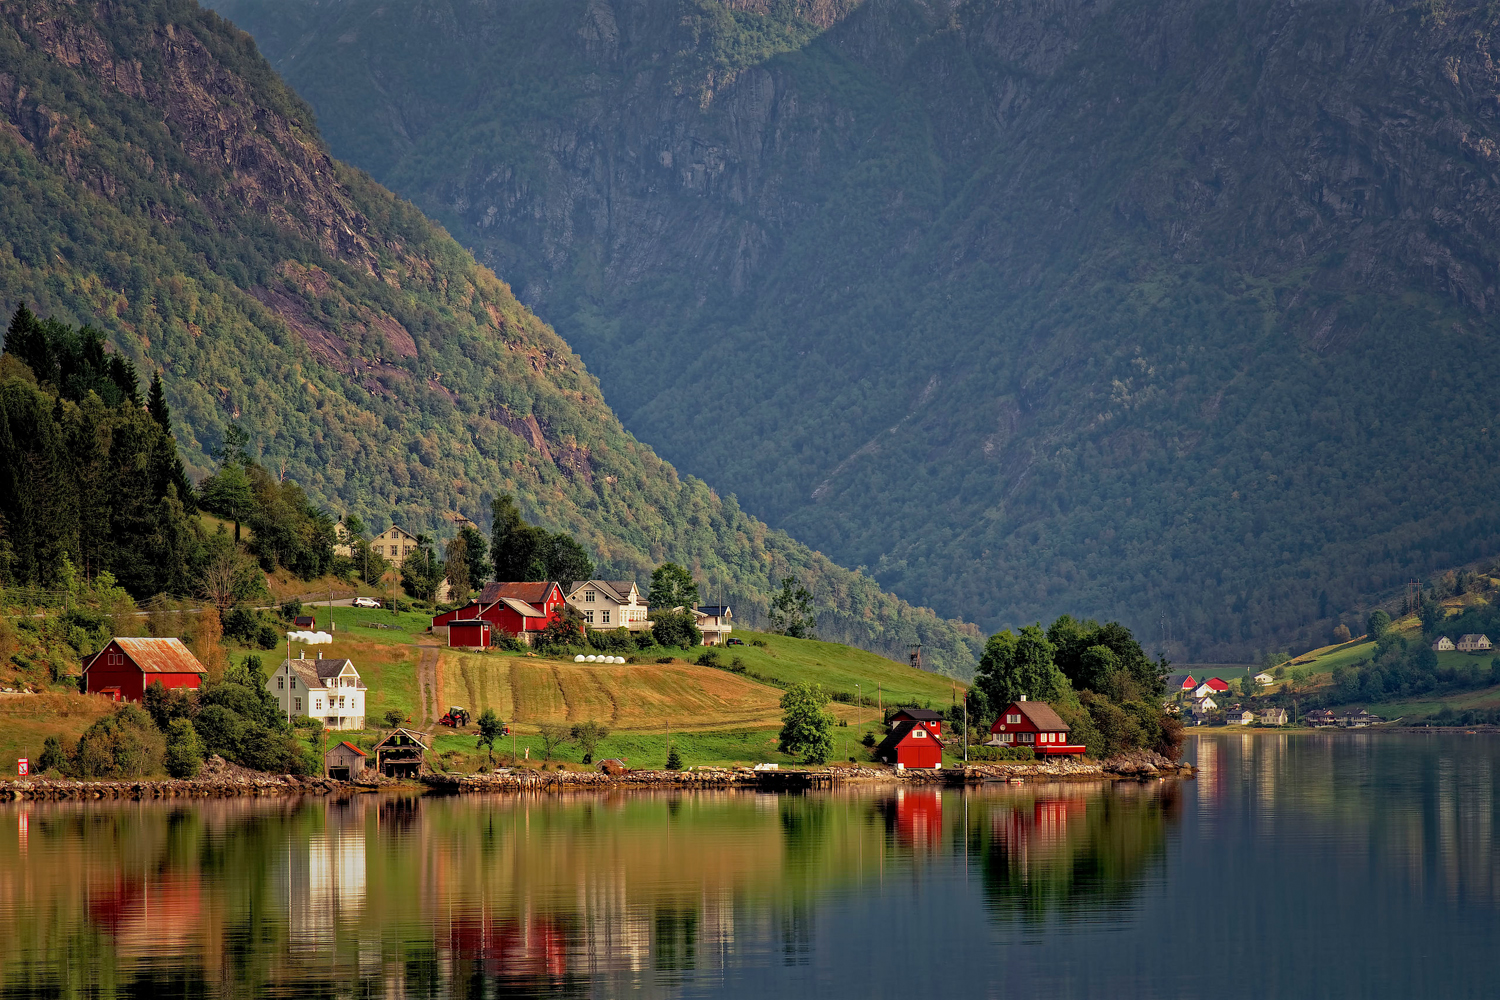
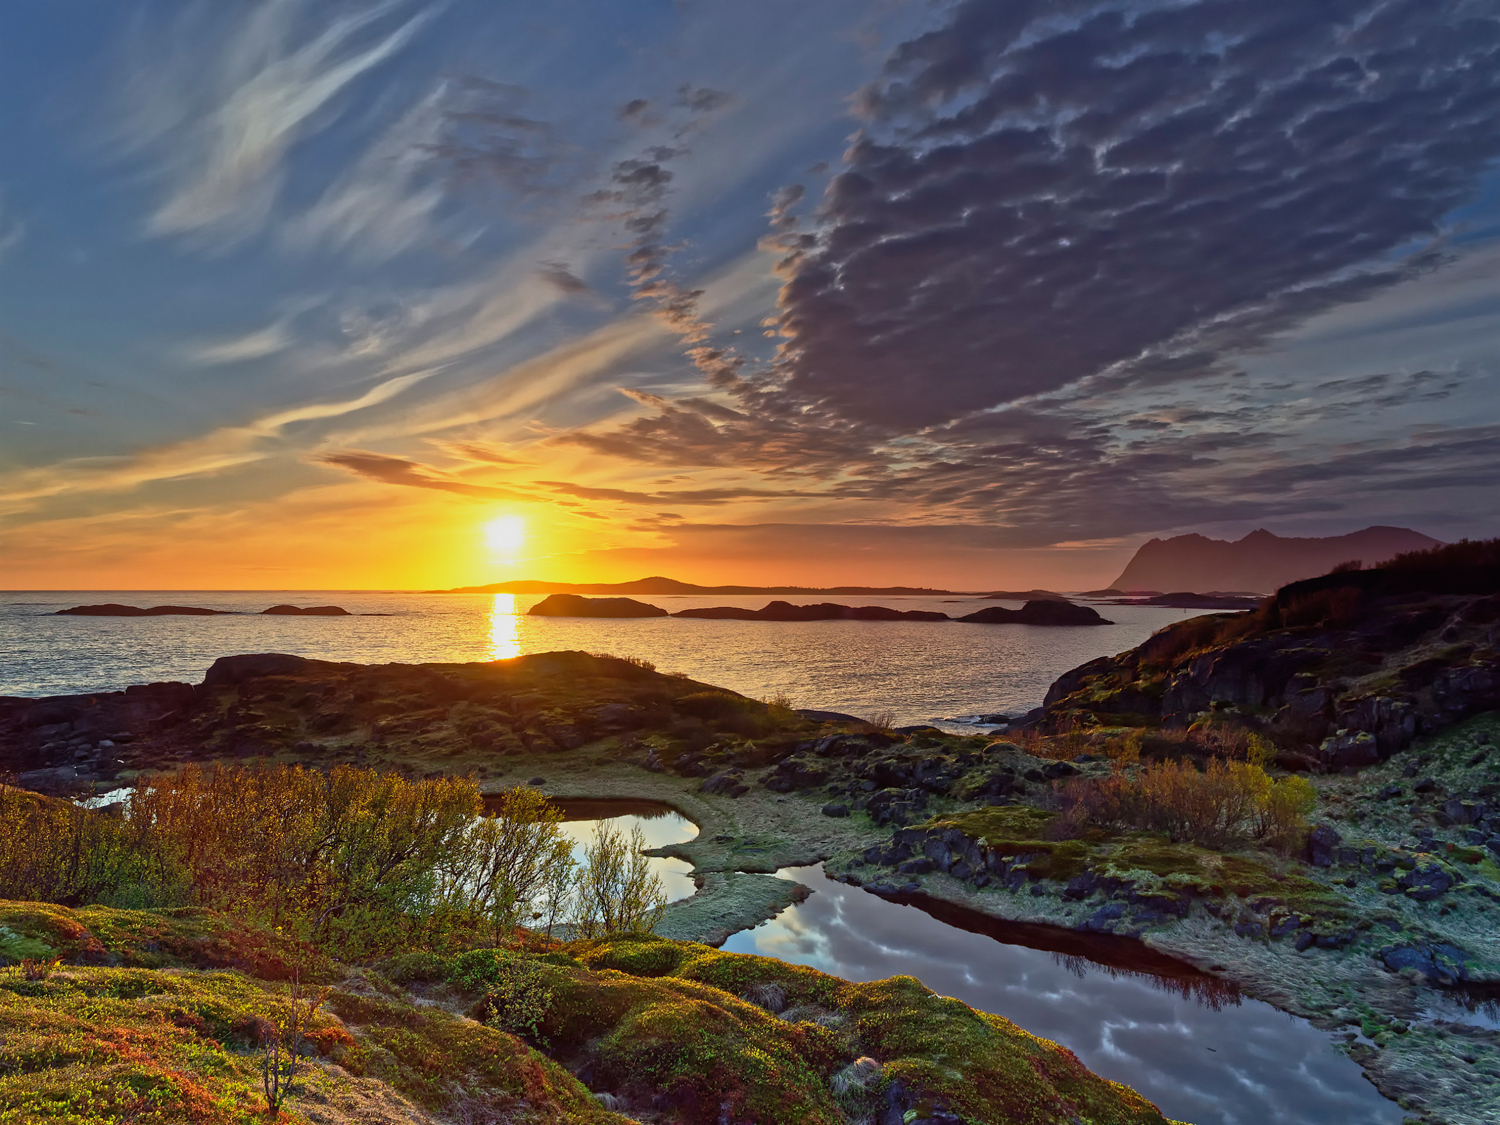
During the summer the sun does not set and it is possible to shoot landscapes through the night. The sun touches the horizon before it starts to rise again creating opportunities to make incredible images which just cannot be found elsewhere. The softness of the light and the creation of graduated colours in the sky surpass all expectations. It is so beautiful that from time to time you forget to take images as you are simply stunned by the beauty and get lost in the moment.
At around 69° latitude (Tromsø) the sun does not set from mid-May till mid-July. When the sun starts to set again in late July, the display of light is no less stunning.
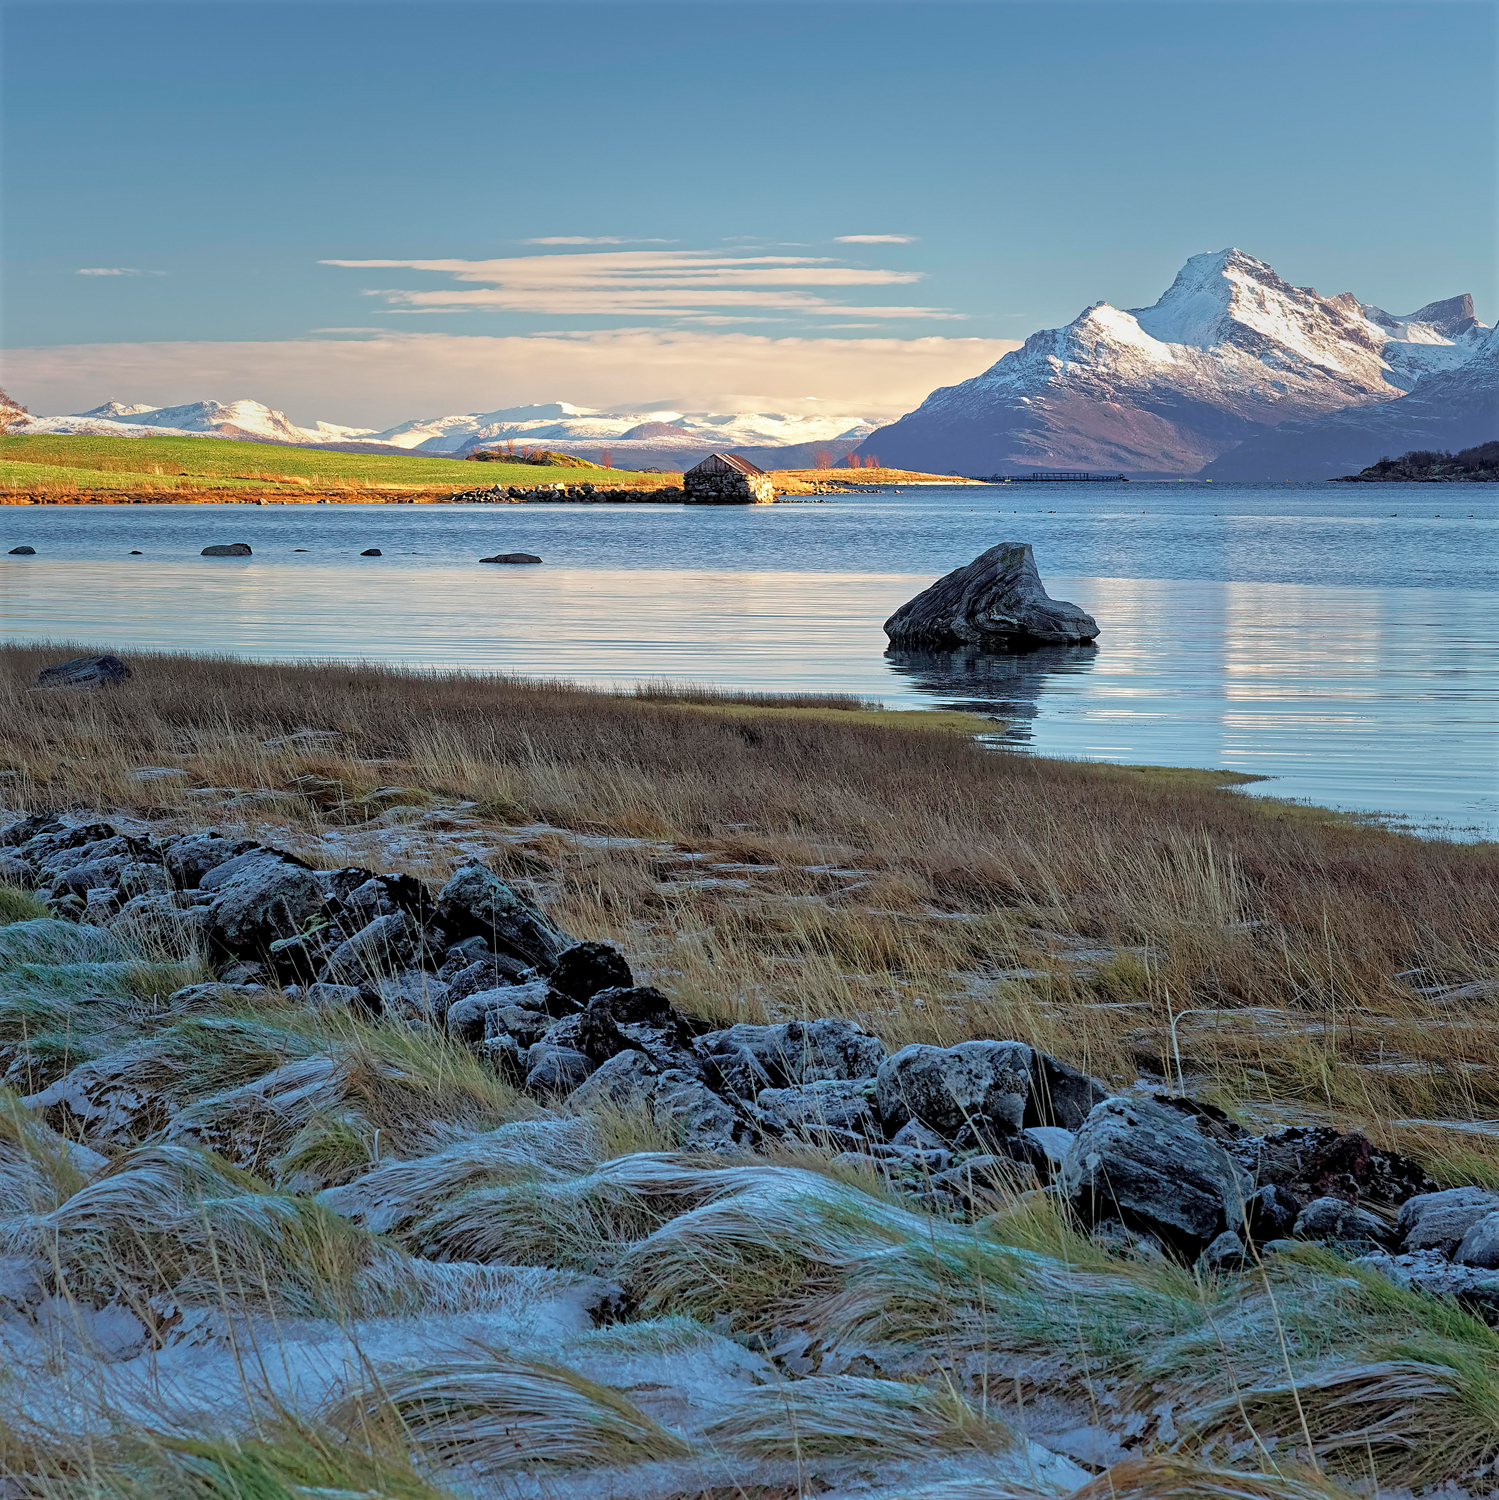
Autumn brings different light and you will start to see the first hoarfrost and the first ice. Combined with the beautiful golden autumn leaves and smoke frost you are presented with an incredible opportunity for stunning landscape images. Due to the late sunrises and early sunsets, the golden hour lasts for about 3 hours. Add 1.5 hours of blue hour and you get a huge window of opportunity every day to capture the Nordic Light in its full glory.
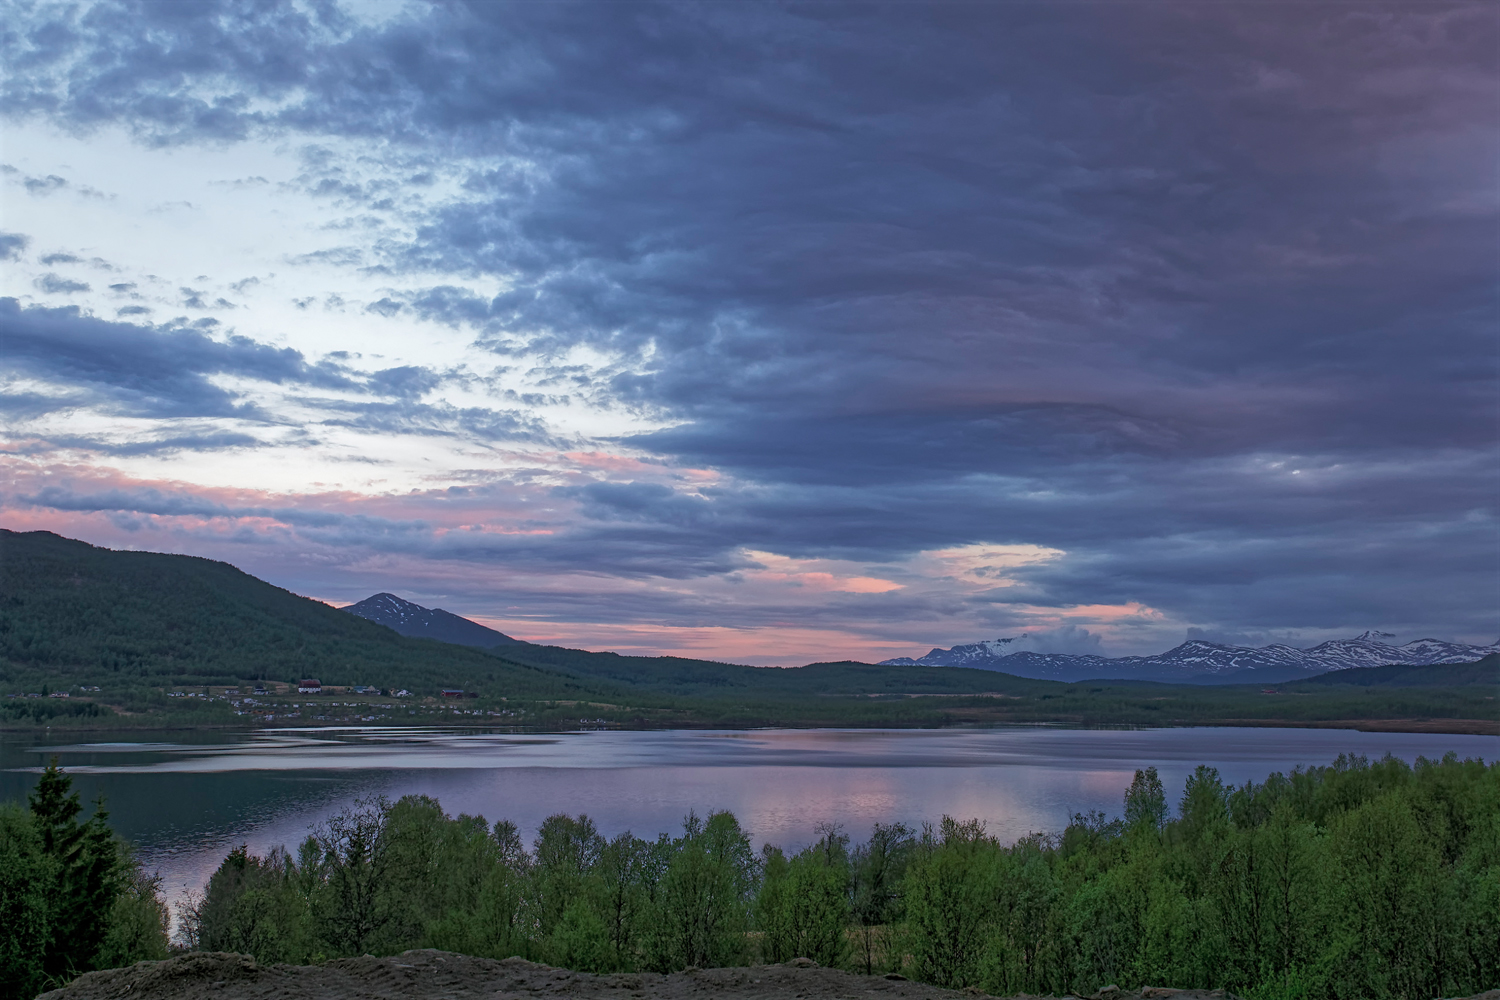
When the sky is clear, you may start to see a shimmer of green light. This is probably the most spectacular light to be witnessed anywhere – The Aurora Borealis or Northern Lights. The Northern Lights can be green, yellow, pink, red and blue colour. The colours you see depend on the solar activity and how far the solar particles penetrate into the earth‘s atmosphere.
When the Northern Lights appear you will experience the “Flames of Heaven“, standing under billions of stars this incredible phenomena fills you with a tremendous sense of awe. The Northern Lights can be seen from mid-September to mid-April in the Northern Hemisphere.
Around mid-November the Polar Night makes its entry onto the scene and the light changes again as the sun does not rise until mid-January (69° Latitude). The light is soft and the days are long …even longer when the Northern Lights are dancing in the sky.
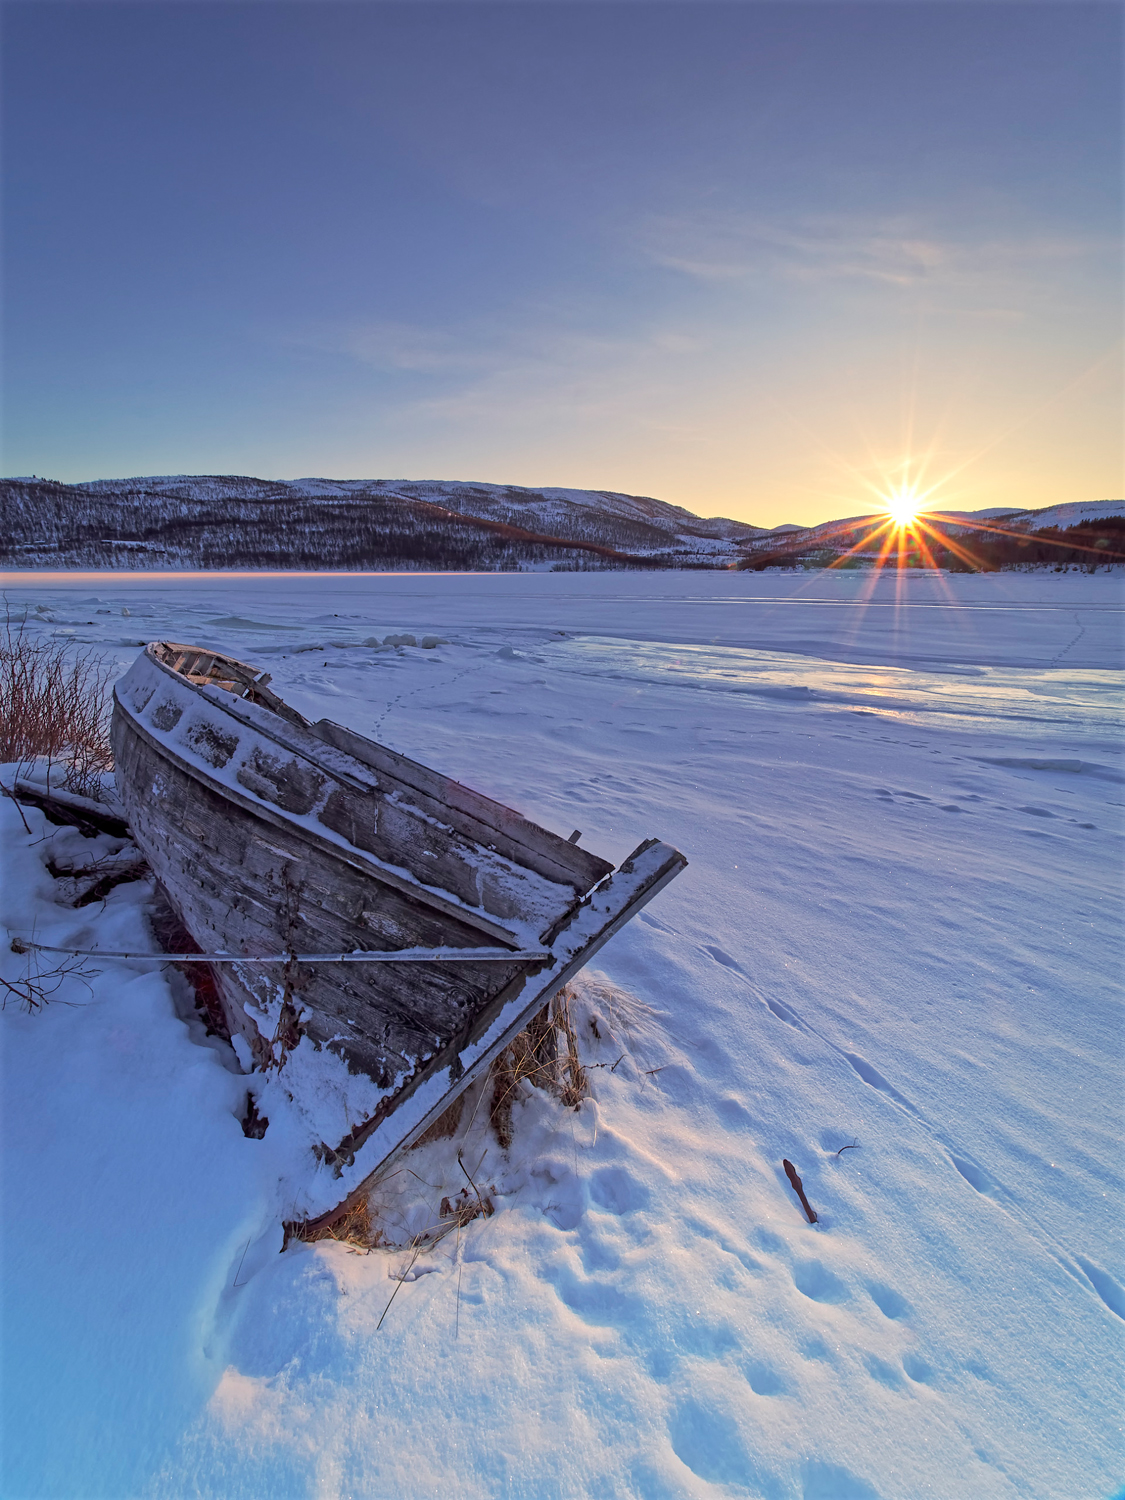
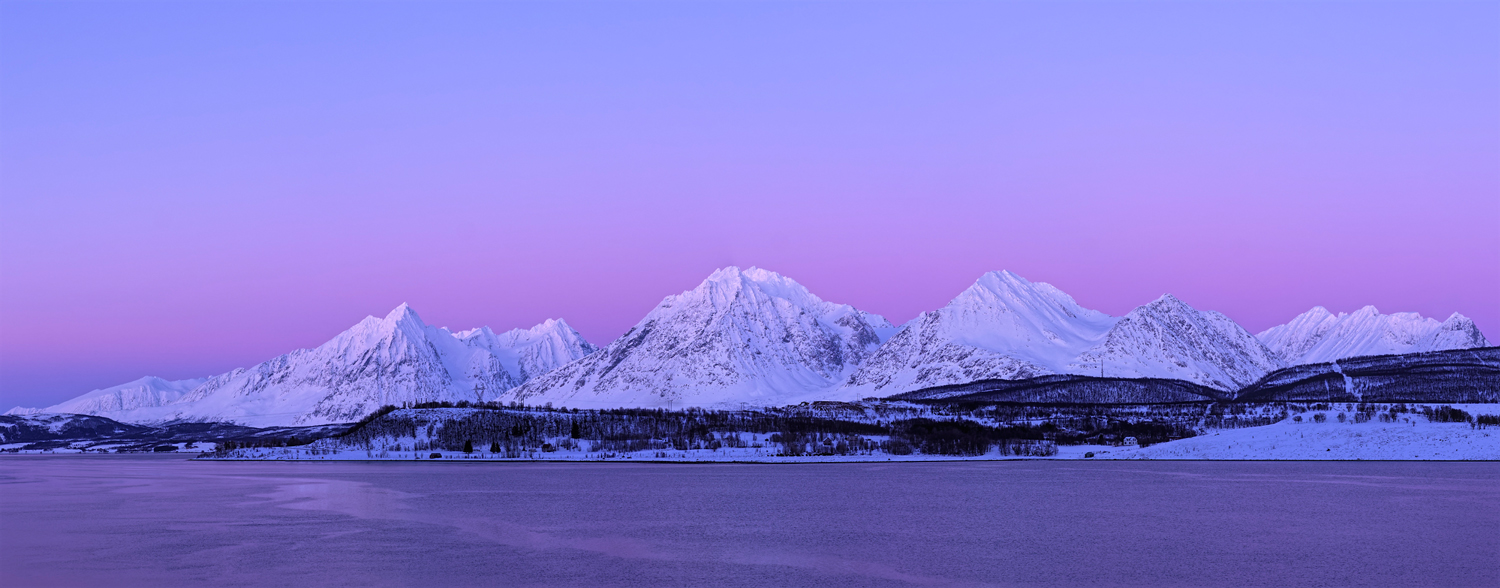
The Winters in the North are long and Spring feels very distant. But when you start to see a glimpse of reddish colour on top of the mountains, you know that the sun has made its appearance and soon the days start to get longer. During this time of the year the light is epic. Pink colours flood the sky and the breathtaking scenery reveals itself in another different guise.
Although the weather in the North can be harsh, its amazing light and dramatic landscape is a heaven for photographers who are willing to brave the elements.
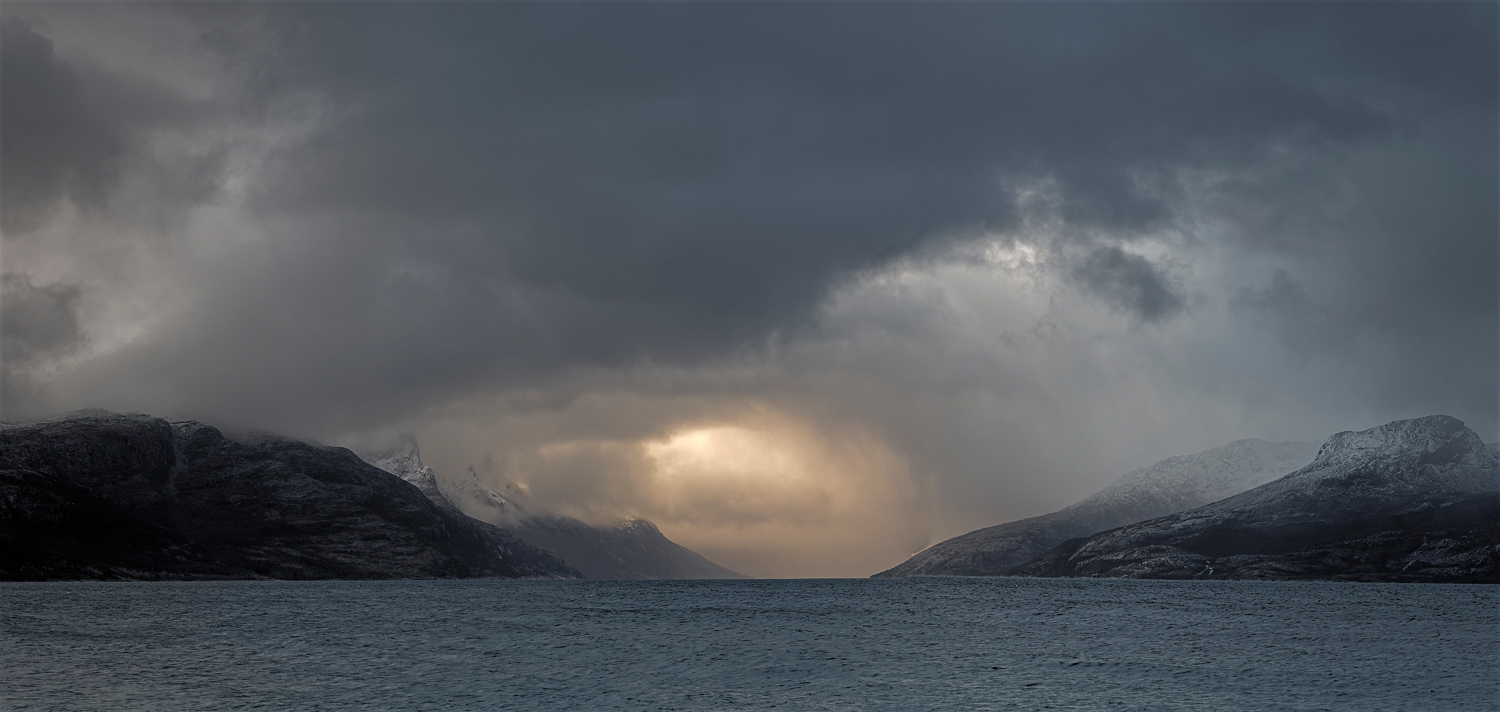
Composing Landscapes
For my landscapes, I always carry the M.Zuiko 7-14mm PRO, M.Zuiko 12-40mm PRO, M.Zuiko 75mm f.18 lens with me although, recently I have started to use the 40-150mm PRO more as this lens enables me to isolate subjects when the weather is dull (no meaningful sky) or when I want to get closer to the subject. My favorite lenses are the first two, although the image-rendering quality and sharpness of all of the M.Zuiko lenses is outstanding.
When I am searching for motives and elements to make a composition, I look for structures, leading lines and isolated subjects. When I find something interesting, I test the composition by taking shots in three different variations. When none of the compositions work to my satisfaction, I move to another location but I always return later to give the composition another try as a refreshed mindset and altered light can make a dramatic difference. This approach has served me well.
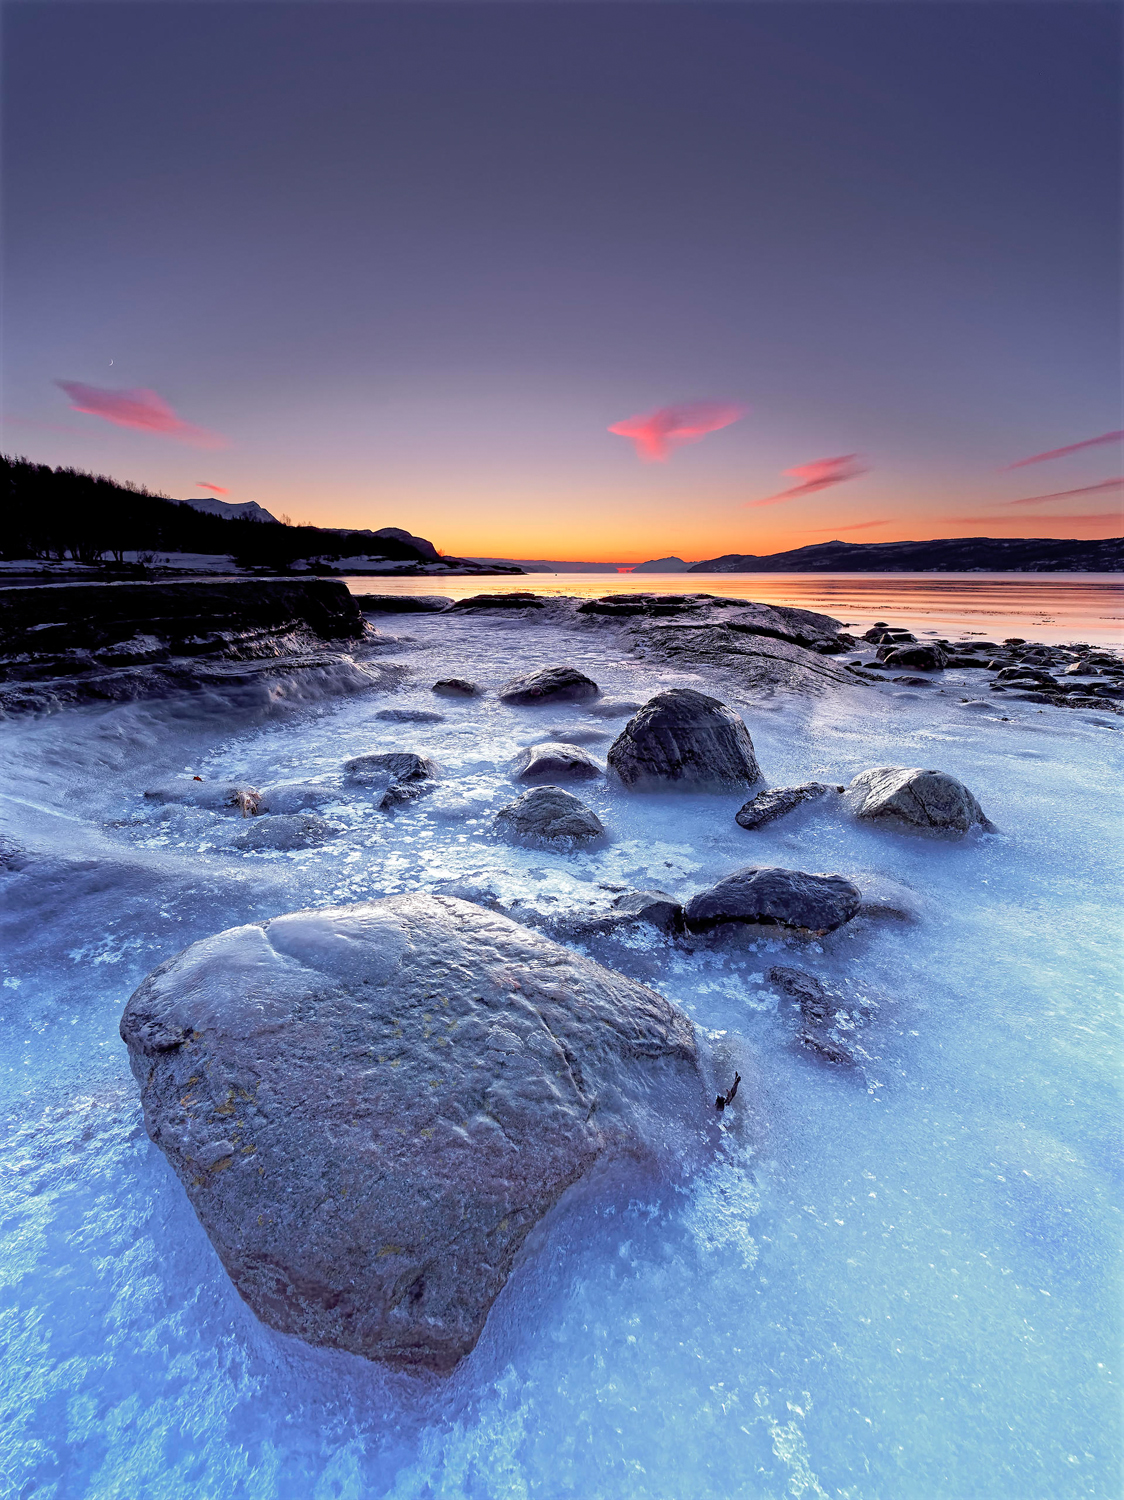
I like to find locations which are unspoiled and unexplored by the photographic community. This approach will allow you to return home with images which are unique. It takes more time to scout these locations of course, but it is definitely worth the effort and extremely rewarding.
It is vital to know your camera well, to know where the buttons and menu items are when you need them, especially when shooting the Northern Lights, as you need to be fast so as to not miss the perfect capture. Lady Aurora doesn’t stop her show because you are not ready. And when shooting the Northern Lights, you will need to make adjustments to the settings constantly and quickly.
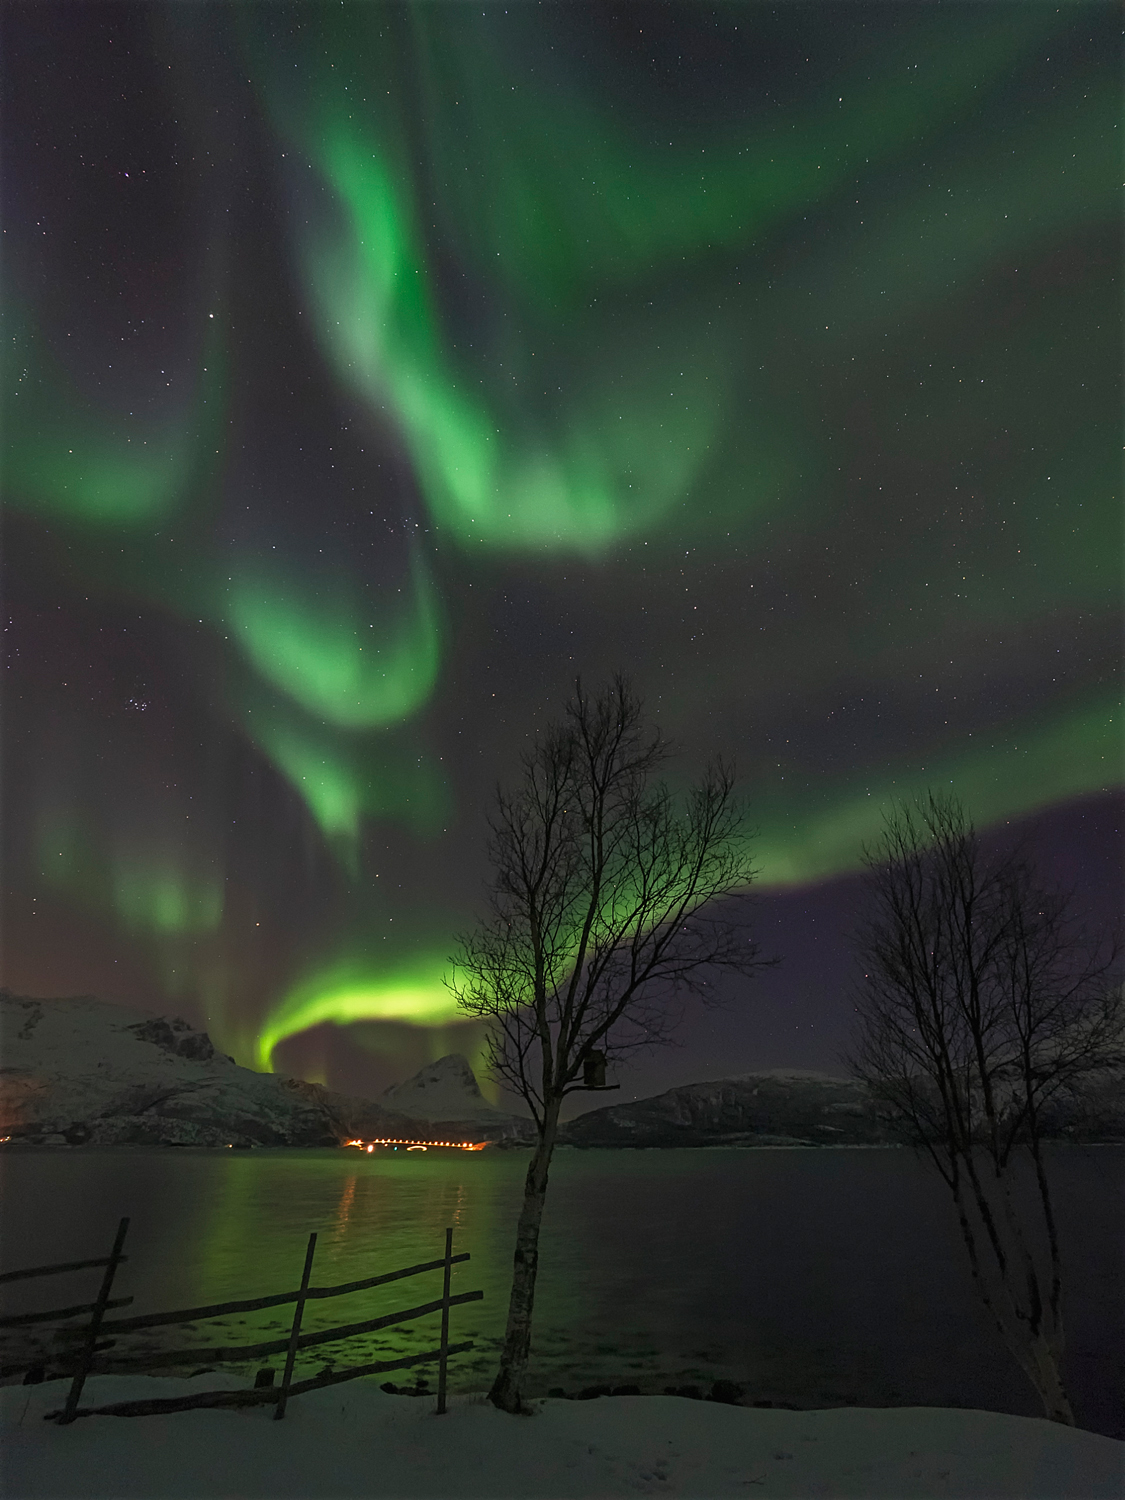
With my Olympus, I love the fact that you can freely reassign your key functionality to any button. I have assigned Magnification and Focus Peaking to the front buttons. I have set the AEL button to AF-ON (back button focus). These settings have proven to be very efficient when shooting the Aurora Borealis.
As focusing in the dark is difficult, with these settings you can quickly magnify the view of a bright star and with focus peaking enabled obtain pin sharp focus using the focus wheel on the lens (the camera needs to be in M-mode because once you find the focus you do not want to lose it (when you press the shutter and have AFS on the shutter).
The beauty of the Olympus E-M1 Mark II and E-M5 Mark II is that when the camera is in M mode (manual focus) you still can use the AF-ON (AEL button) to autofocus (Mode 3 in A3 – MF setting), which is very helpful when focusing needs to quick.
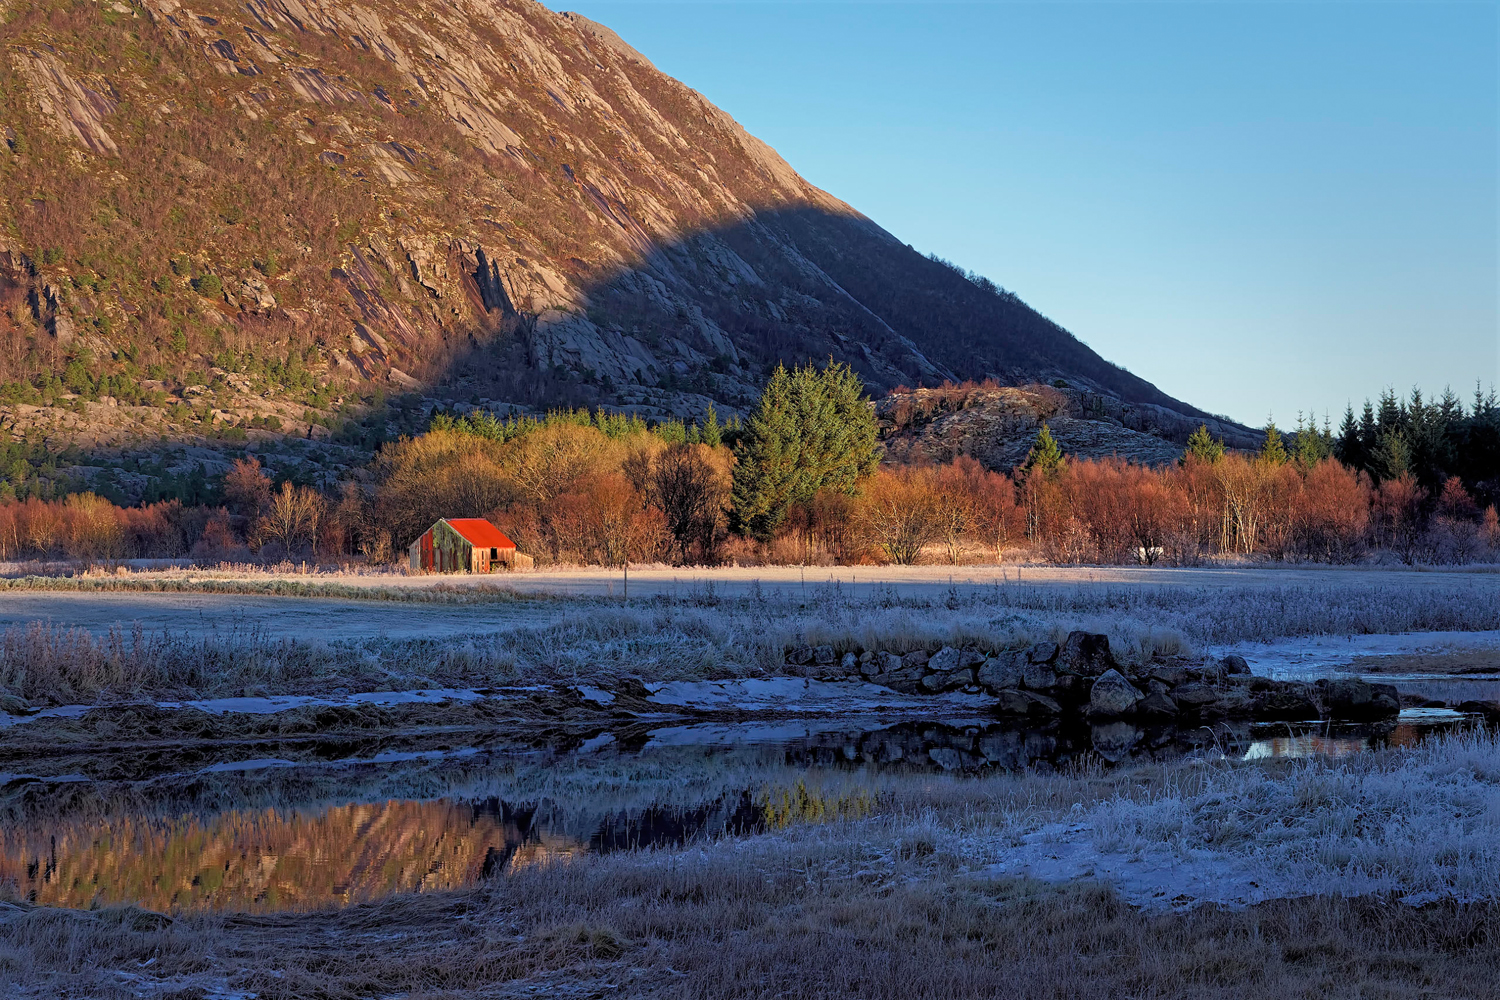
It is a misguided myth that the mFT sensor is not good at capturing low light images. Once you understand the effect of the signal to noise ratio, you will be able to capture stunning Northern Lights and Astro images with nearly no noise. It‘s all about getting a perfect balance of ISO and exposure. Suppose the exposure would be 3 sec at ISO 800. If you apply the “signal to noise ratio“ you should now expose this image with the same exposure time but at a higher ISO (Let’s say 2 stops).
When you look at your histogram you will notice that the shadows (The area where you normally will notice the most noise) are more exposed to the right. In post production you will reduce the exposure by 2 stops and you will see that the noise will decrease naturally as you darken the image. I found that, when shooting the Aurora Borealis, ISO 4000 and exposure times between 1 and 5 seconds (optimal) are ideal for the E-M1 Mark II.
Depending on the activity of the Aurora Borealis you may need to reduce the ISO accordingly. With high activity (Strong Solar wind speed (G1+ Solar Magnetic Storms) you may need to go down to ISO 1250. It is important that the exposure does not go beyond 10 seconds as the Aurora will start to loose its structure.
Traveling
I always prepare my tours diligently to ensure I have everything I need before I embark on my adventure. It is important to take sufficient SD cards as I do not want to rely on 1 or 2 cards only. For my stills photography, I never erase the SD card after I have made a backup on location. Once the SD card is full, I keep this card (locked) in a container, until I am home and am 100% sure I have all the images I have shot backed up securely.
For time-lapse and video this is a bit different, as the amount of data I capture is massive so I have to make proper backups whilst traveling. I reformat the cards, after I have checked the backups. For backup I am using the Samsung T3 and T5 1TB SSD drives connected to my MacBook Pro. Whilst traveling, I create folders by day to arrange my images and time-lapse footage. This has proven to be very effective and easy as it enables me to find footage quickly when on location.
Post processing
In the Digital Darkroom, I use DXO Photolab 2 in combination with Affinity Photo. I have found that DXO develops the Olympus RAW files better than any other tool I have tested and it is very good value as compared to the other big names. However, I develop the Olympus HiRes files with Olympus Workspace, as I have found that the other tools create too much fringing for my taste.
Once at home I load my images onto my storage devices and start with the sorting process. I never delete an image unless it is really is something I do not want to keep. I spend as less time as possible to develop my still images as I like to stay as close and natural as possible to what I have seen and captured. For me it is important to get as much as possible right in camera so that the editing tools don’t become a sticking plaster for botched photos.
Advice
The weather up North is unpredictable. I have created a guide for clients who join my tours to ensure that they are prepared and bring everything they need to stay warm and shoot in the extreme conditions we encounter and can really make the most of the wonderful experience.
What‘s in my bag
- E-M1 Mark II and E-M5 Mark II
- Syrp 3-axis motion control system + carbon fiber slider
- 7-14mm PRO, 12-40mm PRO, 75mm f1.8 and 40-150mm PRO lenses
- NiSi Filters, Batteries, Cable shutter release
- Gitzo Systematic Tripod (GT3542LS) with Arca Swiss D4 Geared Ballhead
- Sufficient SD cards nicely fitted into a solid container (Lexar 2000 32 and 64GB, ProGrade 64GB and Lexar 1000 – 128GB)
- Macbook Pro and Samsung T3/T5 1TB SSD drives
- iPhone with apps – PhotoPills, Sun Surveyor, Aurora and Weather Apps
www.nordiclightphototours.com
email: nordiclightphoto@icloud.com
Did you enjoy this article? If you wish to know more about this type of photography, you can find in the February issue of our magazine a complete tutorial that Hendrik Zwart prepared on how to shoot the Northern Lights with your Olympus camera.
“My name is Hendrik Anne Zwart and I am a full-time professional landscape and time-lapse photographer focusing on Northern Europe, leading photo tours with an emphasis on the Nordic Light. Nordic Light is the most incredible light I have ever seen. It has generated in me a boundless passion which is a huge privilege to share with others.
I love to chase the light in all aspects, no matter what the weather conditions are. The light is beautiful under hard conditions, a gorgeous sunrise/sunset or late at night. When the light is there….we should be there.
At Nordic Light Photo Tours we embrace Mother Nature. We have specialised in photo tours in Northern Europe with a focus on the area within the Polar Circle. The Light conditions are so different from anywhere else. Therefore Nordic Light Photo Tours spend most of the time here. We find this place “Heaven on Earth”. Why?
In today’s society, we hardly find any locations where you can enjoy the quietness and peace we need to relax and remove the noise from the brain. We are in constant motion and our brain does not get enough rest in order to find the balance we need in life. Nordic Light Photo Tours is offering the photo tours to those, who want to chill out and find rest and peace in enjoying photographing stunning landscapes.”



Silviu
June 12, 2023 @ 18:57
Impresive portfolio. Just wow!
But I have seen on his website that he is using Nikon Z7 and Z9 not Olympus 🙂
hendrik zwart
June 13, 2023 @ 09:37
Hi Silviu, thank you for your comment. I do not have a Nikon Z7 nor a Z9. This must be mix up somewhere. My website can be found under focus9photography.com or nordiclightphototours.com My article I wrote about Going North is solely shot with my Olympus gear.
Perhaps you can point me to the website you have found the information in your comment.
Cheers,
hendrik
Silviu
June 13, 2023 @ 10:16
I double checked and you are right. I am sorry, it was my mistake. I was seeing more articles and probably I have mixed it up in my mind.
Have a great day! And keep it up!
Hendrik Zwart
June 13, 2023 @ 14:47
Cheers Silviu. Have a wonderful day.