In the Studio
I’m Joe Sevita, a native New Yorker, and now an amateur studio photographer specializing in fashion, beauty and portraits. I shoot using Olympus.
When I started, there was no plan, I had no background in photography, I was inspired by a free studio lighting seminar I took at Adorama while between jobs. When I saw the aesthetics that could be achieved in the studio with simple changes in lighting and model placement I was blown away and had to figure out how to do it for myself.
At the time I owned the OM-D E-M5 and used it for vacation photos and to hack around the city with. I loved it. While most of my friends abandoned their DSLR dreams due to the bulk and weigh of casual carry the E-M5 and two lenses sat all times either in my backpack along with a laptop, books and whatever else, or the pockets of my jacket. Smaller is better. “All lens” is the future. So, when I decided to take photography more seriously and Olympus released the 20MP OM-D E-M1 Mark II that was the obvious answer.
I hired a model. I wasn’t an artist, I had never done it before, I hadn’t taken anything but a vacation photo in years; this was also the first time I moved the dial to M! I needed the freedom to make mistakes and experiment with no expectations from anyone but myself. My expectations were high and I failed miserably. I thought I knew what I was doing but I guess not.
In subsequent seminars, I learned about the importance, the criticality of, modifiers, V-Flats, reflectors and the light meter. There was a lot to learn and these seminars were mostly attended by very experienced even professional photographers, they were fast paced, geared toward an experienced audience and made my head spin.
I can’t emphasis enough the importance of a light meter. This tool enables a critical starting point for measuring the incident light on your subject as opposed to the reflected light the camera measures. While this has helped my studio photography tremendously, I am still studying the how and why of incident versus reflected light metering.
While I had a misspent youth at the MOMA, I would sneak onto the 7 from Flushing change for the 6 and be crossed into this world called Manhattan, this is my very first foray in the visual arts. I fell in love with the works of, besides others, Picasso, Matisse, Dali, Klee and Warhol. No matter my stage in life or what I was doing to make a living this was my world. Still my talent – office worker.
Well here we go, I put out a feeler on Model Mayhem and something happened, I started to meet makeup artists, stylists and models all coming of age. All in need of photographs for their portfolios and social media presence. Many looking for collaboration, TFP (time for prints), or in my case, JPGs.
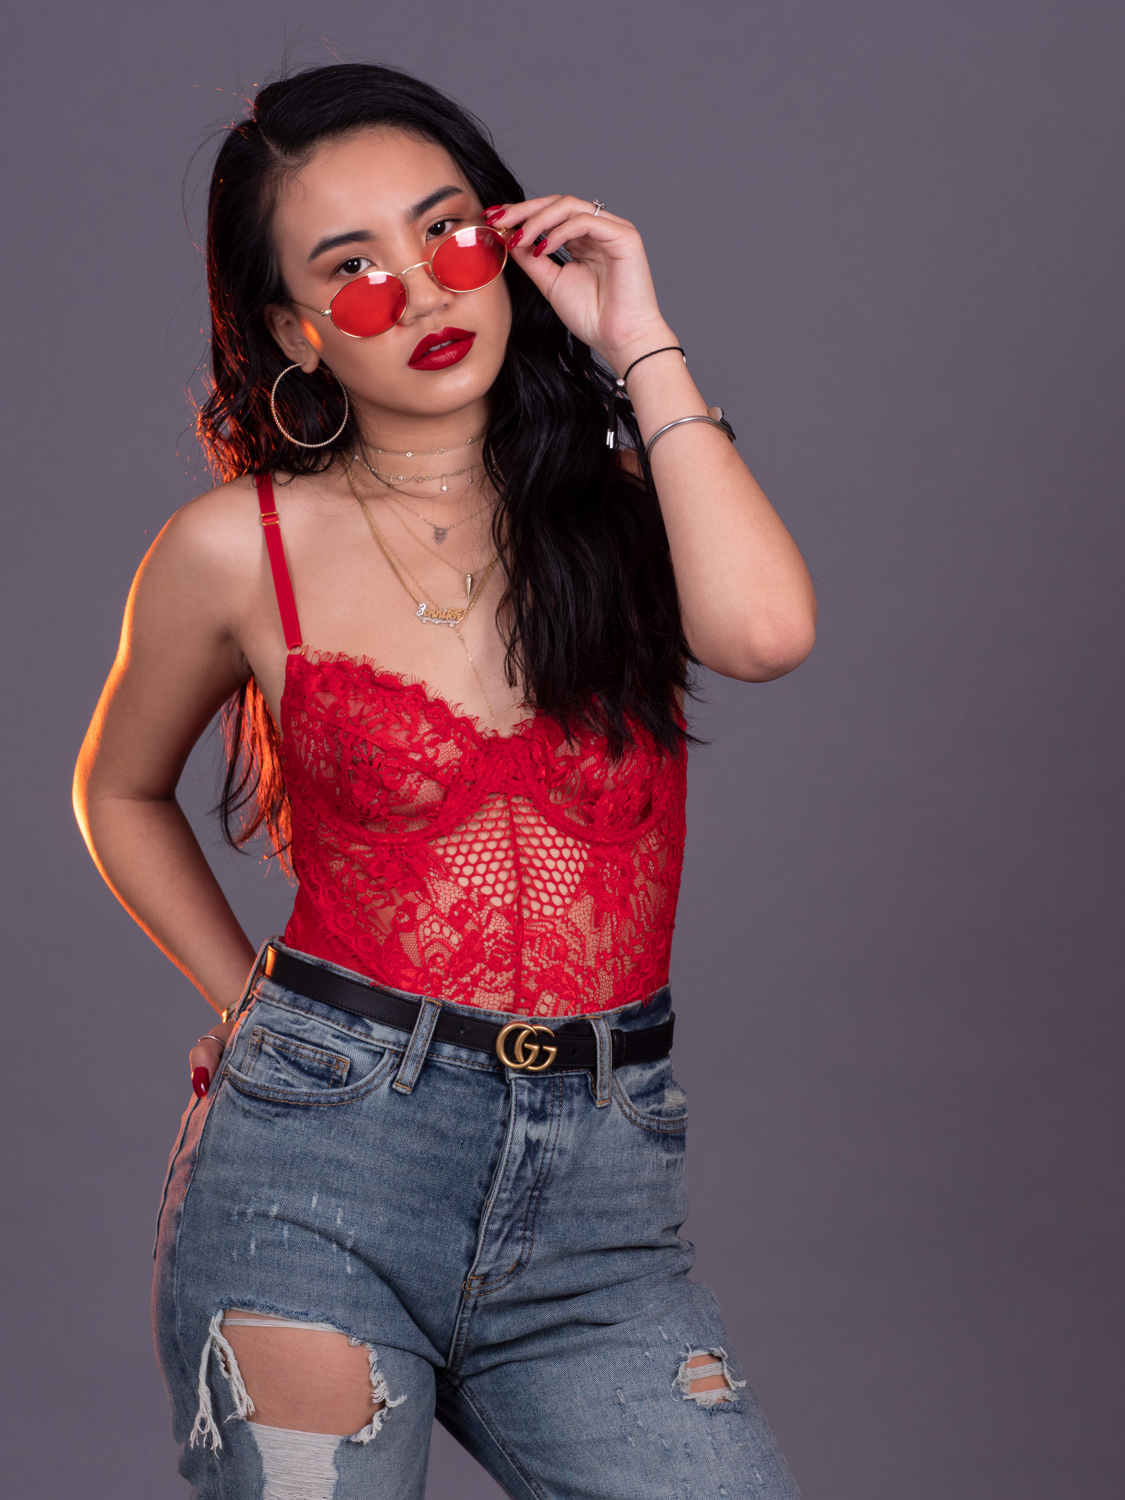
With models, makeup artists and stylists lined up it was time for the hard/scary part, key to any studio shoot; which modifiers to use, what sizes and where to place them relative to the model, these choices make all the difference. The options are endless, softboxes of all sizes and shapes, umbrellas, beauty dishes, diffusers, grids, reflectors, flags, v-flats the results will be different for each option, I needed to learn from trial and error and then learn enough to get away from pure trial and error.
One other key – tethering. Olympus Capture is a critical aspect of studio photography especially in those cases where there are numerous stakeholders, MU artists, stylists, models, etc. Everyone gets to look at the photos and handle issues in real-time to minimize them later in the workflow. This is achieved by using a large enough screen to see detail and a screen that is calibrated before the shoot to ensure color consistency across systems. I use the Spyder5Express for this purpose.
Well, let’s see what I’ve done.
The shots below are all at 1/125 or slightly above, which eliminates all ambient light and the aperture is adjusted for the amount of strobe I needed, ISO is 200 in most cases and WB is 5600 which matches the light color of the strobes.
As I said, I mostly shoot new models and actors for portfolio and social media work. Most of my work is collaboration amongst these models, makeup artists, stylists and myself. The creativity is endless and when a model transforms after an hour or so of makeup and styling it’s like magic.
However, the real fun starts under the lights with the music playing. My camera is the Olympus OM-D E-M1 Mark II and my go-to lens in the studio is the M.Zuiko 40–150 mm 2.8 Pro. Starting at 40mm (80mm in 35mm equivalent) this lens eliminates distortion associated with shorter focal lengths rendering the models features in “correct” proportion. Since the lens cannot go shorter than 40mm I don’t have to worry about distortion while in heat of the shoot.
I have other lenses that I am beginning to use on location such as the 45mm f1.2 Pro and the 17mm 1.2 Pro but in the studio, I am 100% on this zoom telephoto.
Beauty
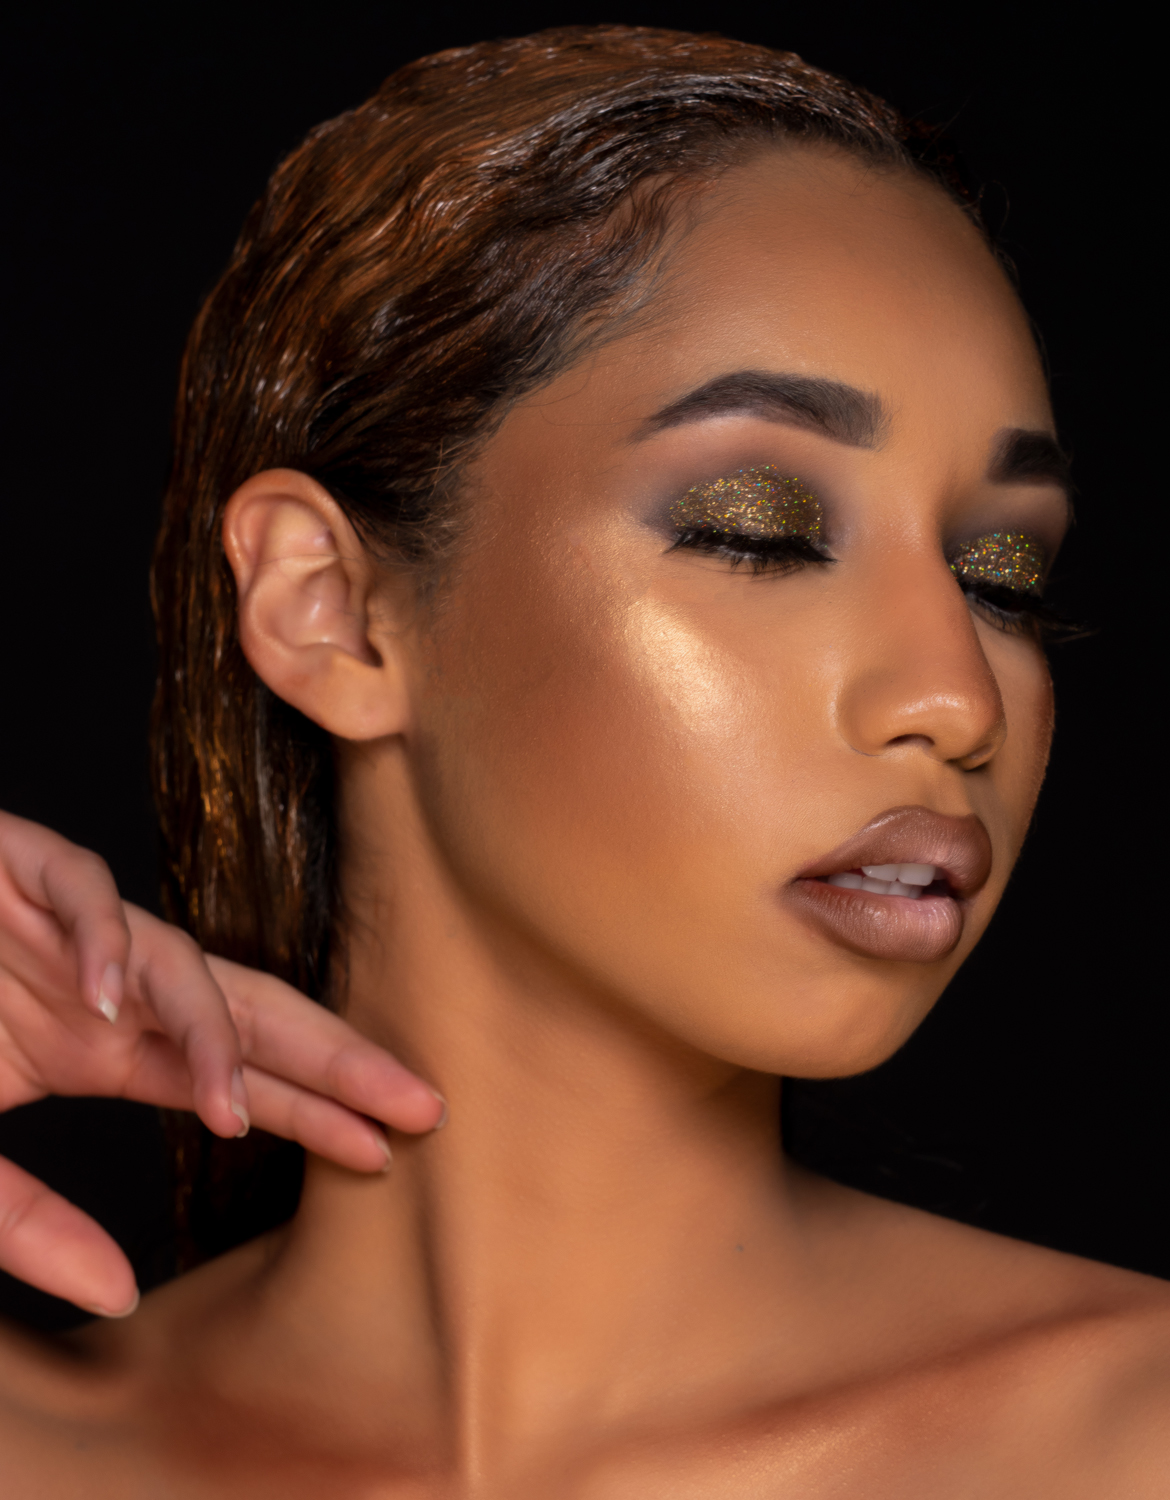
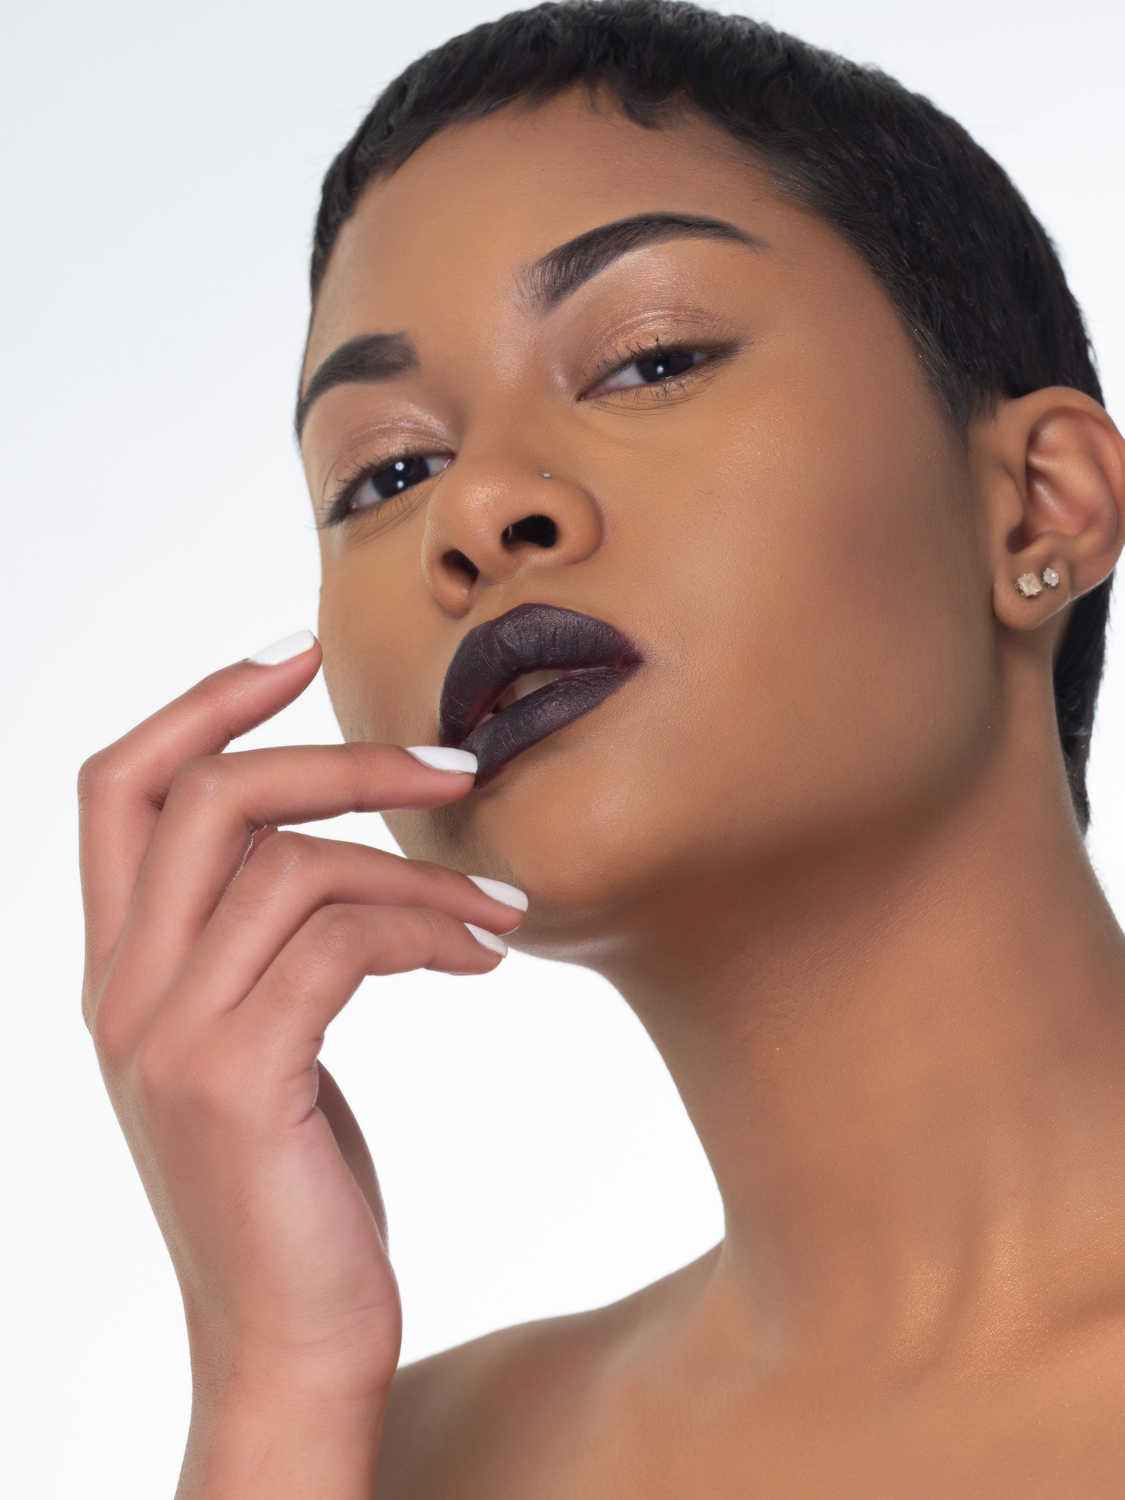
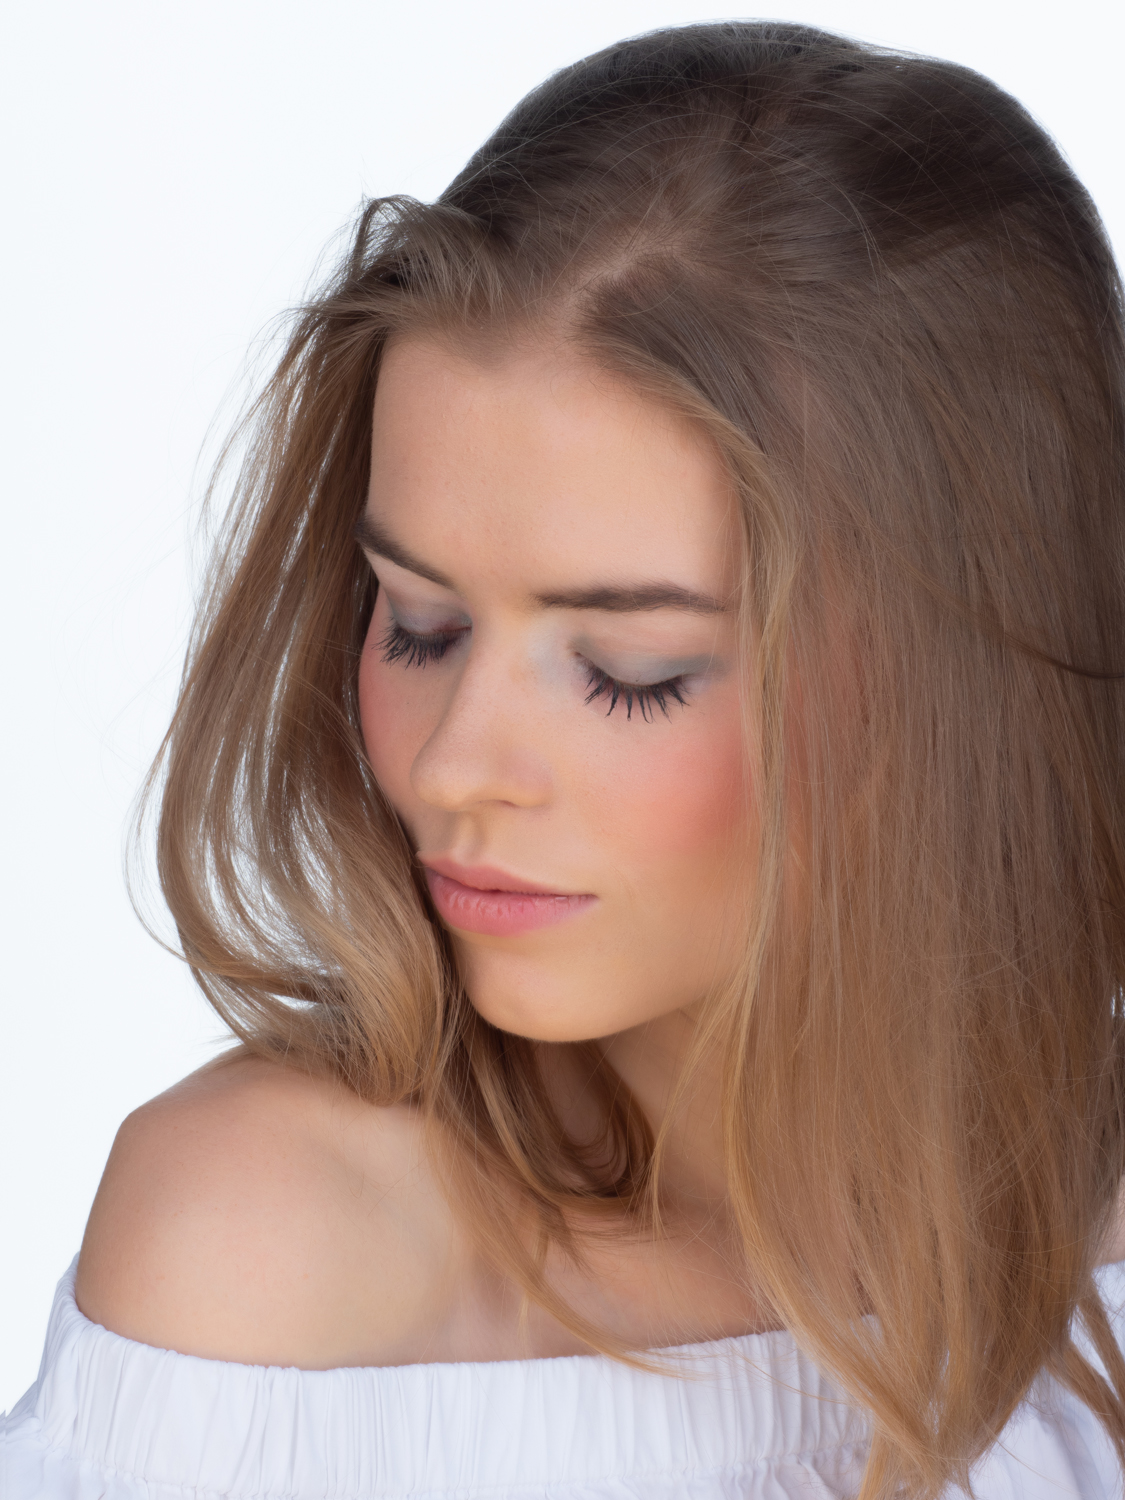
In the three beauty shots below the model is seated at a desk, there is a beauty dish with diffuser in front and above the model and a reflector on the table slanted up so the two together give a “Clam shell” type of set up. The reflector adds the amount of light from the bottom of the model’s face that is desired. On both of the model’s sides there are two large black rectangular reflectors with a black reflector on top, a three-sided black box, to prevent any reflective light.
These shots used Flashpoint strobes which are inexpensive and durable with Glow modifiers. I suspect as my eye develops my lighting choices may change but for now since I use as many as five lights in a shoot, which we will see in a bit, these companies offer me quality goods with the ability to have all the backups I need. Imagine, working a fulltime job, finally getting all the players together, makeup, styling, models and my gear acts up. I need to be able to instantly swap out equipment.
In this shot almost all the light is on the model and little reflects on the background so a dark almost nonexistent background effect is achieved.
In this second picture, the lighting set up is the same except for a white background which I lite on both sides with white reflective umbrellas to achieve the “whiteness” I wanted. Since the light on the model is well contained on her face without backlights the background would be something like a dark grey due to light fall off.
In this last beauty shot instead of the beauty dish I used two softboxes to achieve a bit of a softer effect. As can be seen above the beauty dish, even with a diffuser “carves” out more facial features such as cheekbones while the wider spread of light created by the softboxes, seen below, results in softer effect. Modifiers are everything in the studio.
Fashion
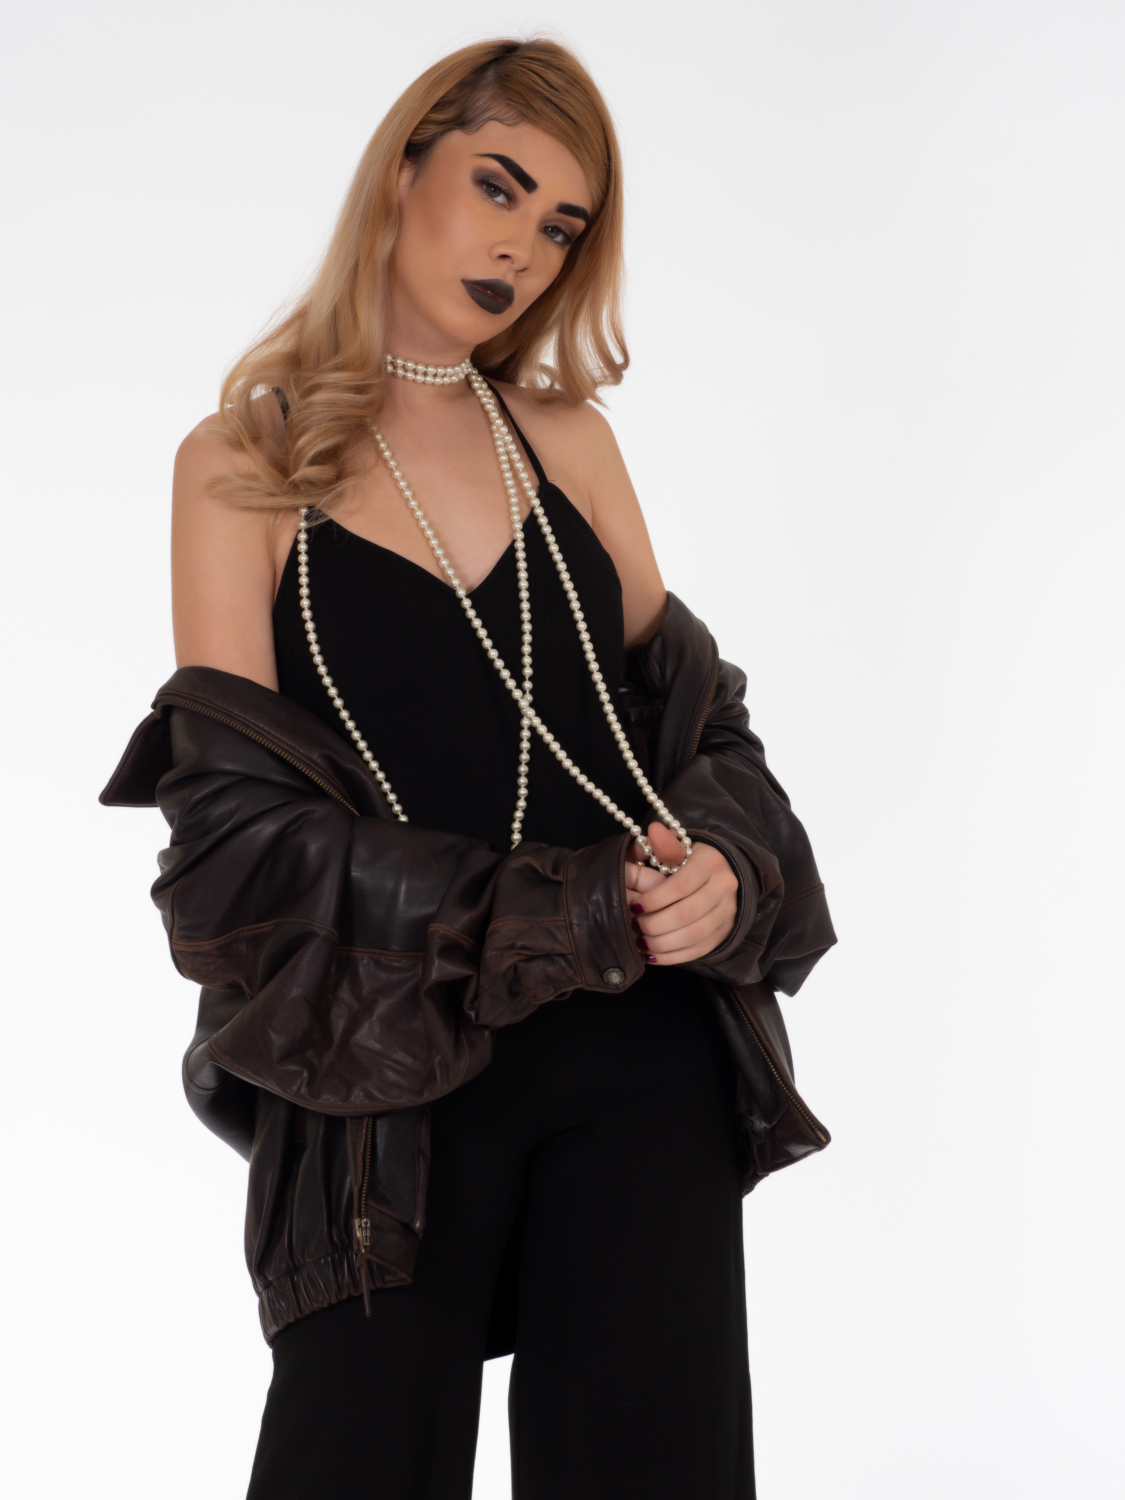
When I do fashion, I usually set up wrap lighting, using large white V-Flats surrounding the model. Two in front of the model and two behind closer to the backdrop creating something like a white box with angled walls. It’s these angles that reflect the light and create a “wrap”.
This first shot is unusual, it uses the v-flats as modifiers, and creates an extremely soft wrap light. The strobes are turned toward the v-flats and all the light on the model is reflected off the v-flats. This creates a massive light source and with four v-flats in place reflects light “wrapping” the model. This shot to me has an unreal feeling.
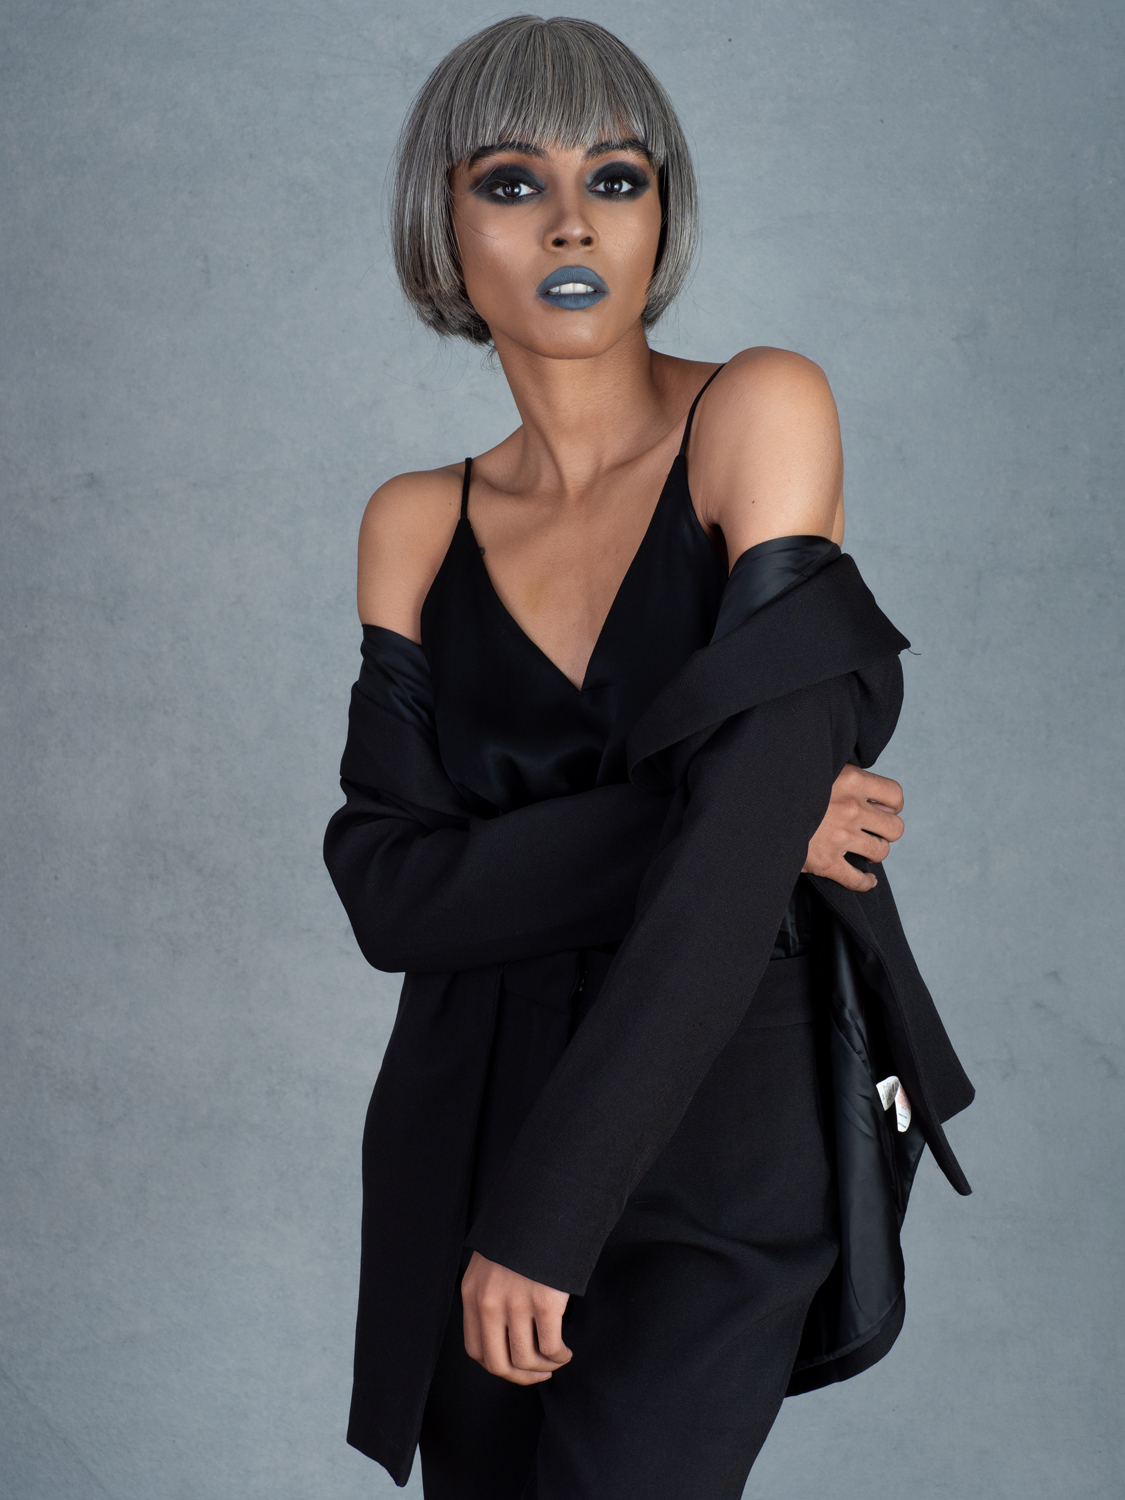
Controlling shadows is key for me, though I don’t always meet my expectations, I believe shadows belong where they belong. Random shadows, especially shadows that muddy up the backdrop are something I try to avoid. In full-length shots it becomes very difficult and I may stick with some “random” shadows if they don’t deter from the photo or use lights and reflectors to rid the shot of them all together.
The next four shots are my classic wrap where I use two strobes on either side of the model with a combination of modifiers (softboxes of varying shapes and sizes, beauty dishes, umbrellas, etc.). I modify the placement and intensity of the lights to achieve the fill, wrap and shadows I desire. I use white and black v-flats and reflectors for fill, wrap and absorption of light.
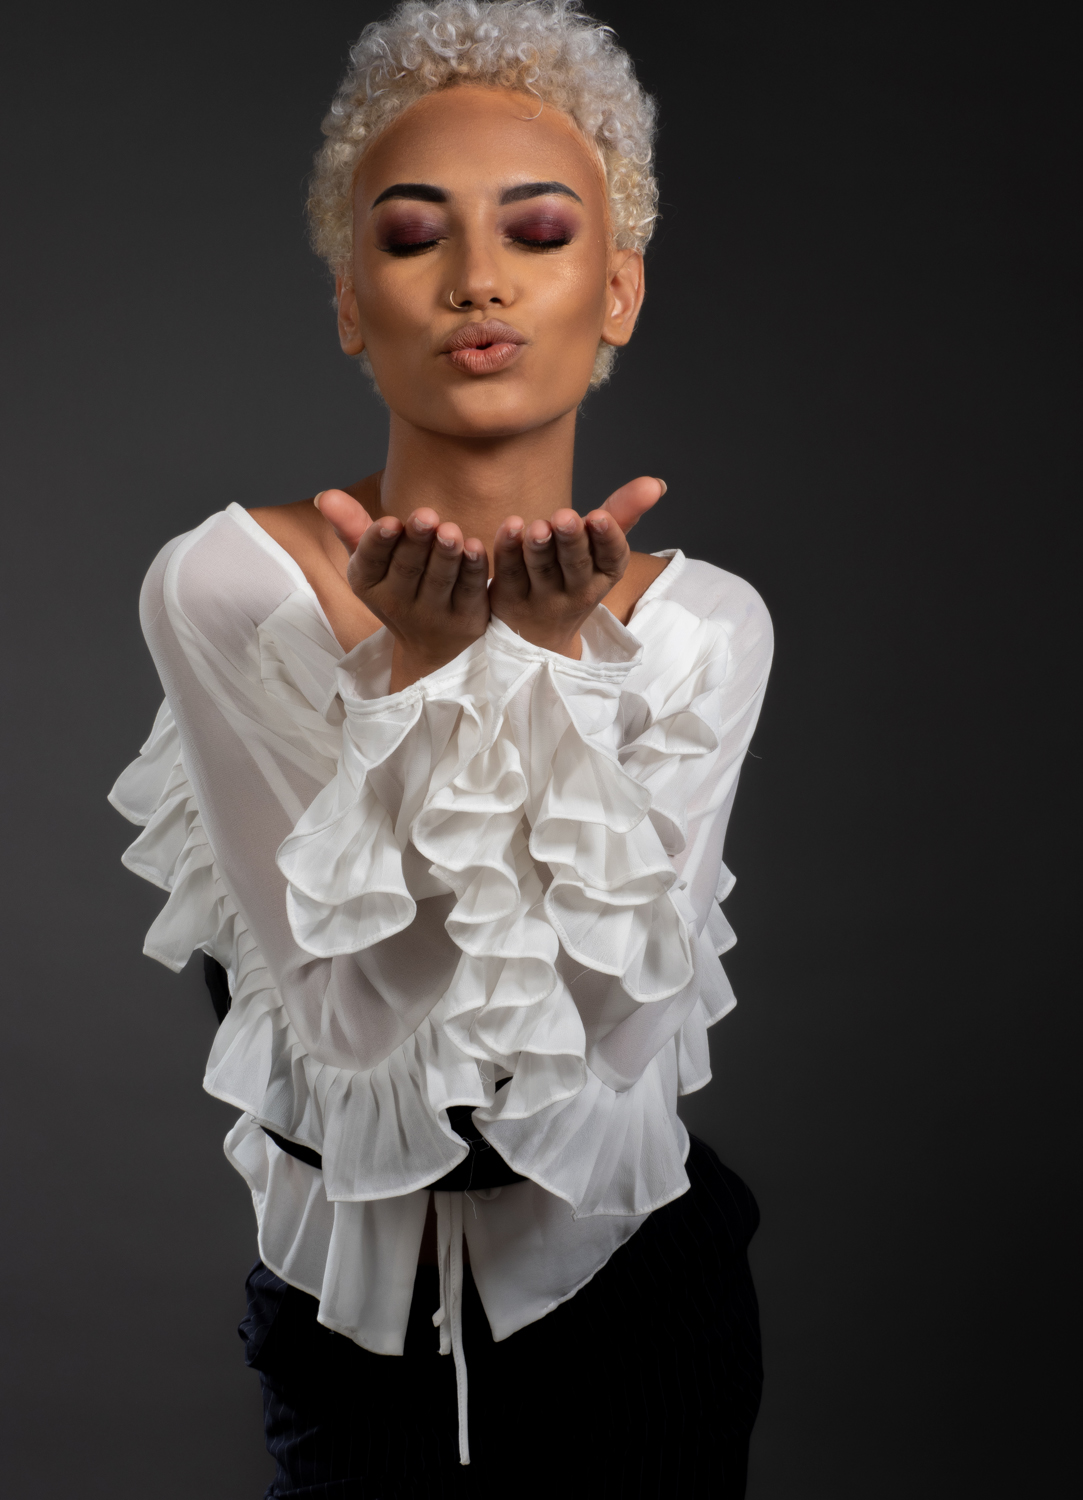
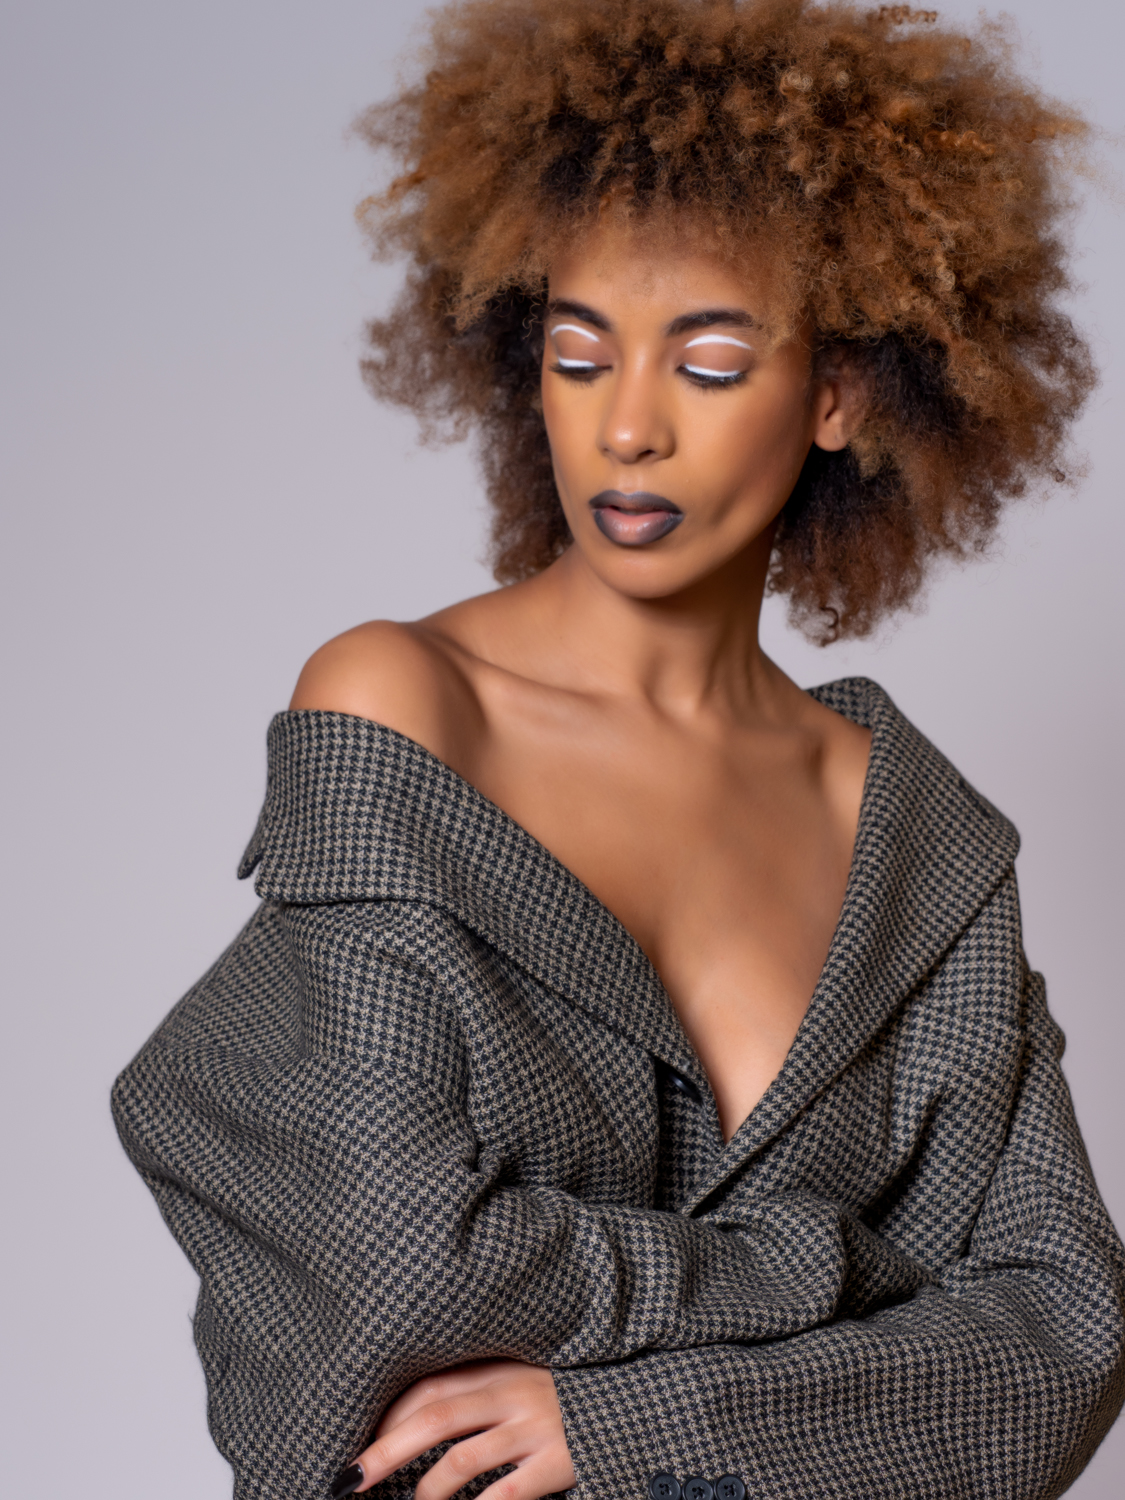
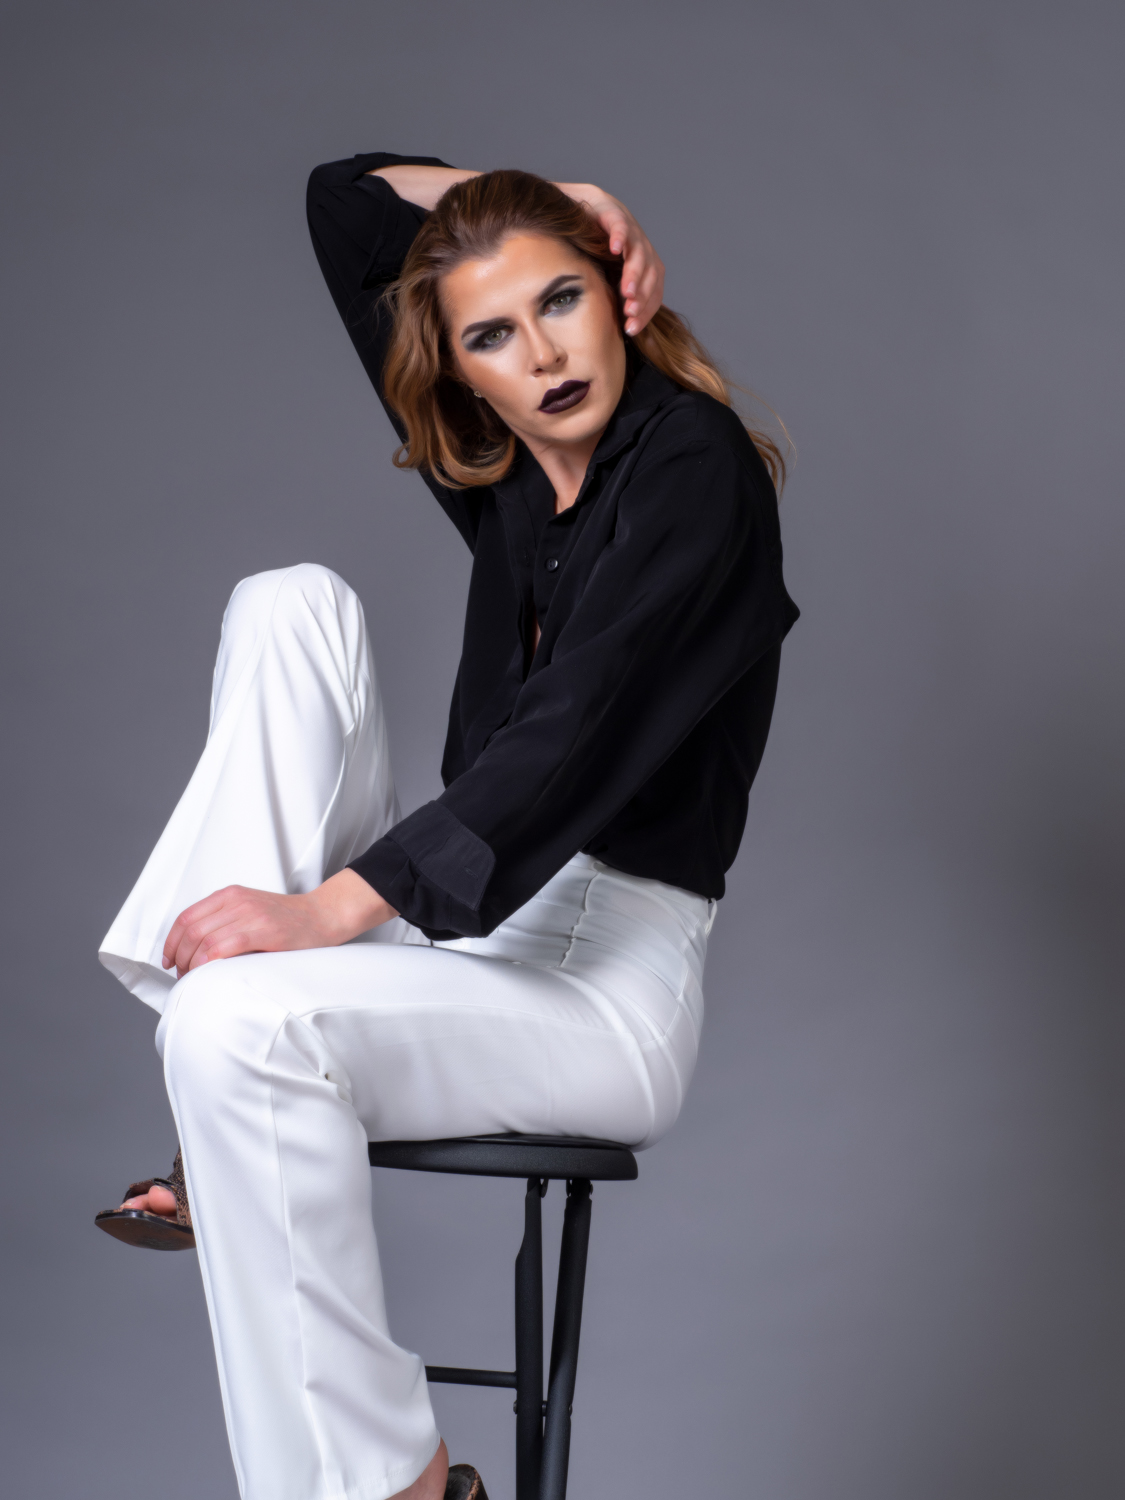
In this photo, backlights are used to get a bright shadowless white background. Here I again use strobes firing into white reflective umbrellas on each side of the backdrop. The spread of the umbrellas provides coverage across the backdrop.
The benefit of the 40-150mm in the studio
This next two shots are great examples of why I love the 40-150mm.
Here are two beauty shots taken by zooming in during a session where I am focusing on full-length shots without the model knowing. I caught a look I liked that I just knew would be gone by the time I moved in should I have been using a prime.
The first is a rapper out of Brooklyn who was shooting some promotional material and the second an actor of incredible breadth who needed some character shots to compliment her headshots.
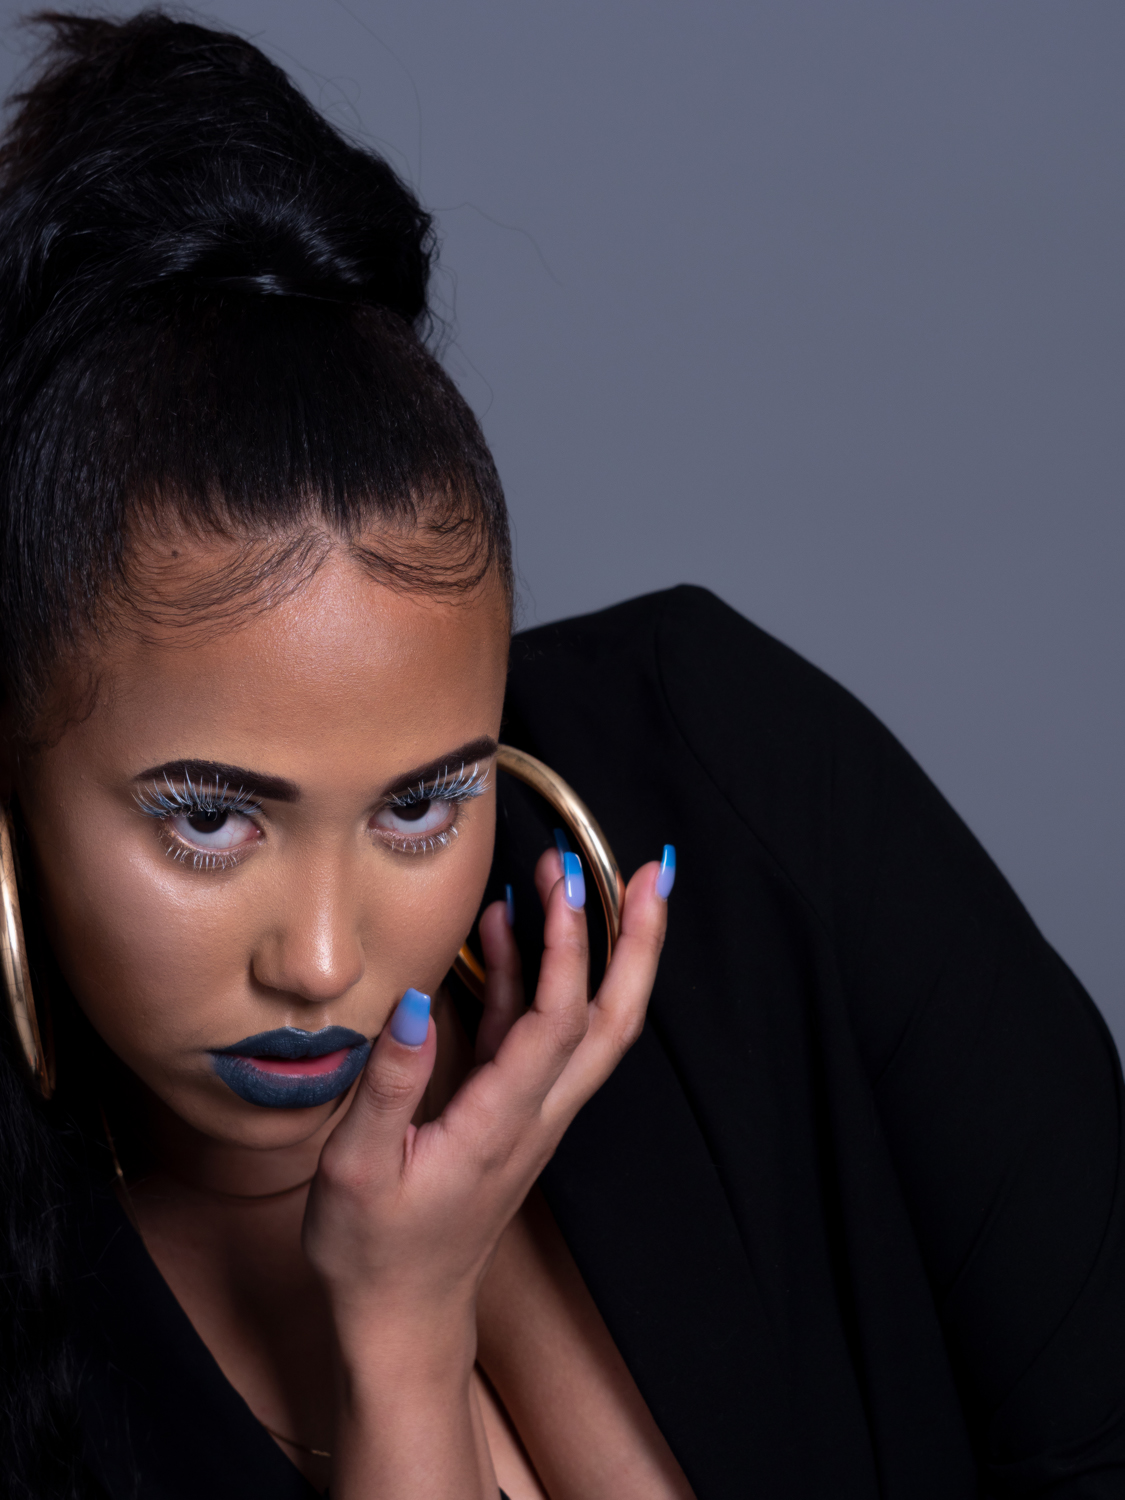
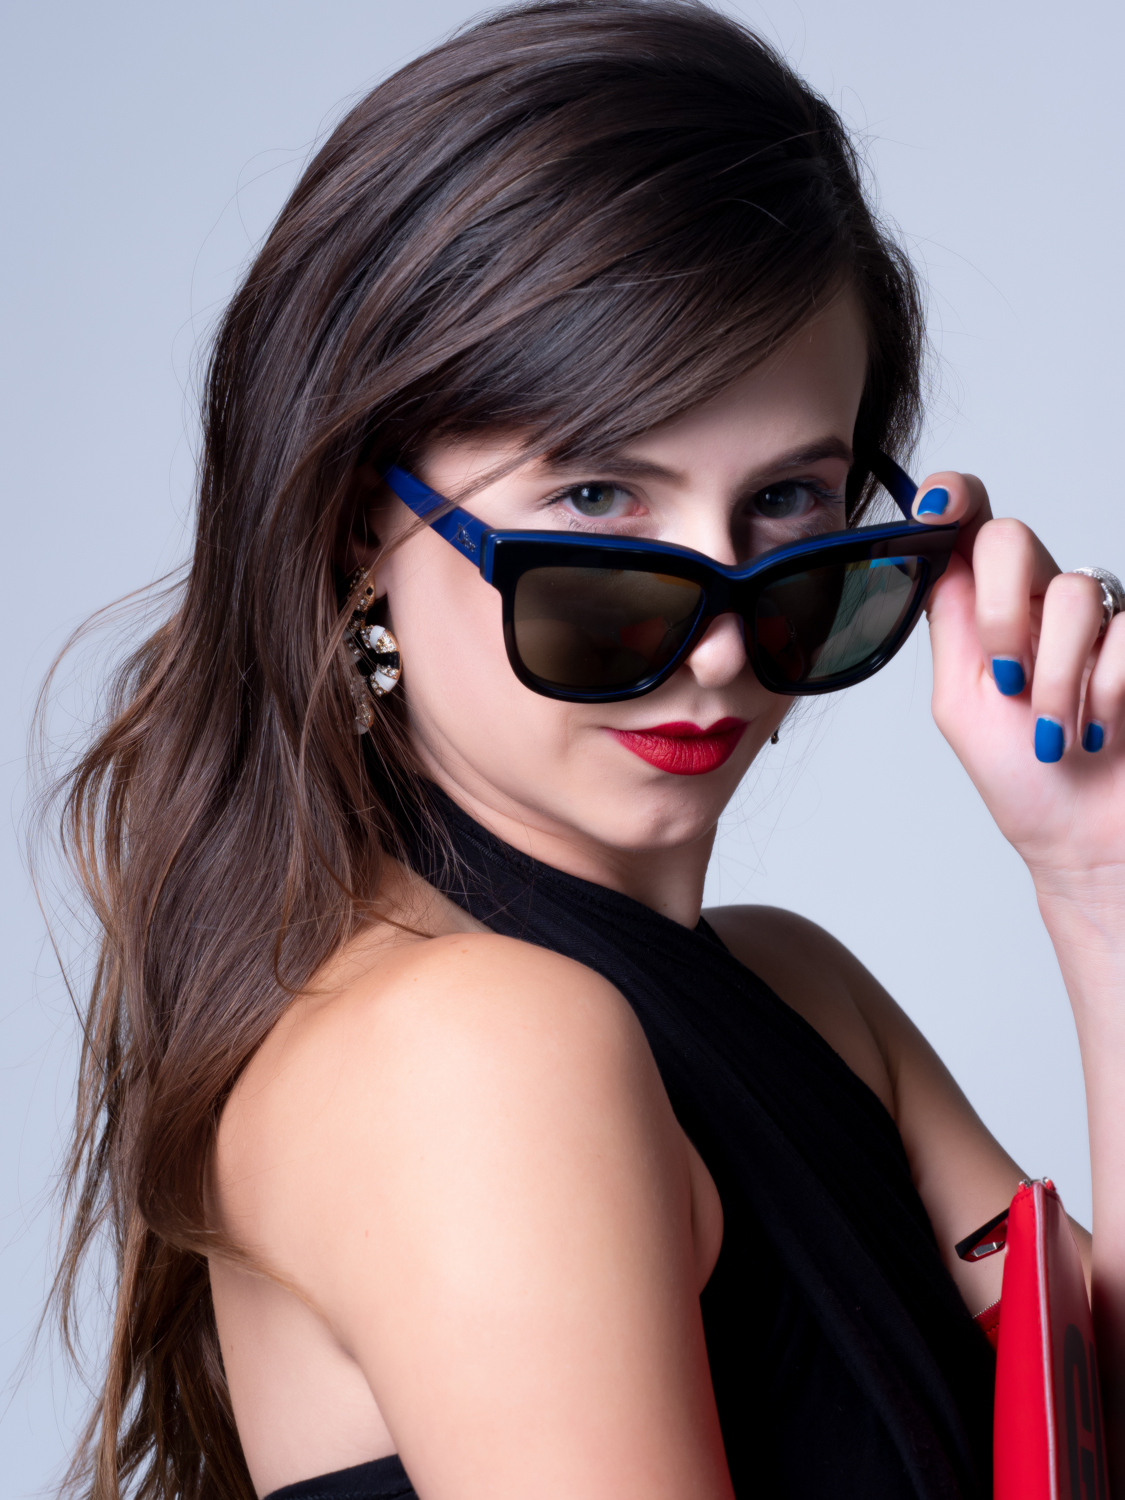
Am I lazy? Maybe, but with a 40-150mm (80-300 35mm) you never worry about distortion and you can let the models do their thing without feeling self-conscious.
Back lights and gels
In these final shots you see why I use as many as five lights. In all of these there is a edge or rim light on the models right side (left to the camera).
In this shot there is subtle orange rim light from behind the model along her hair and profile. The background is a bit shadowy below her right leg, but not enough in my opinion to distract from her, it almost looks vignetted.
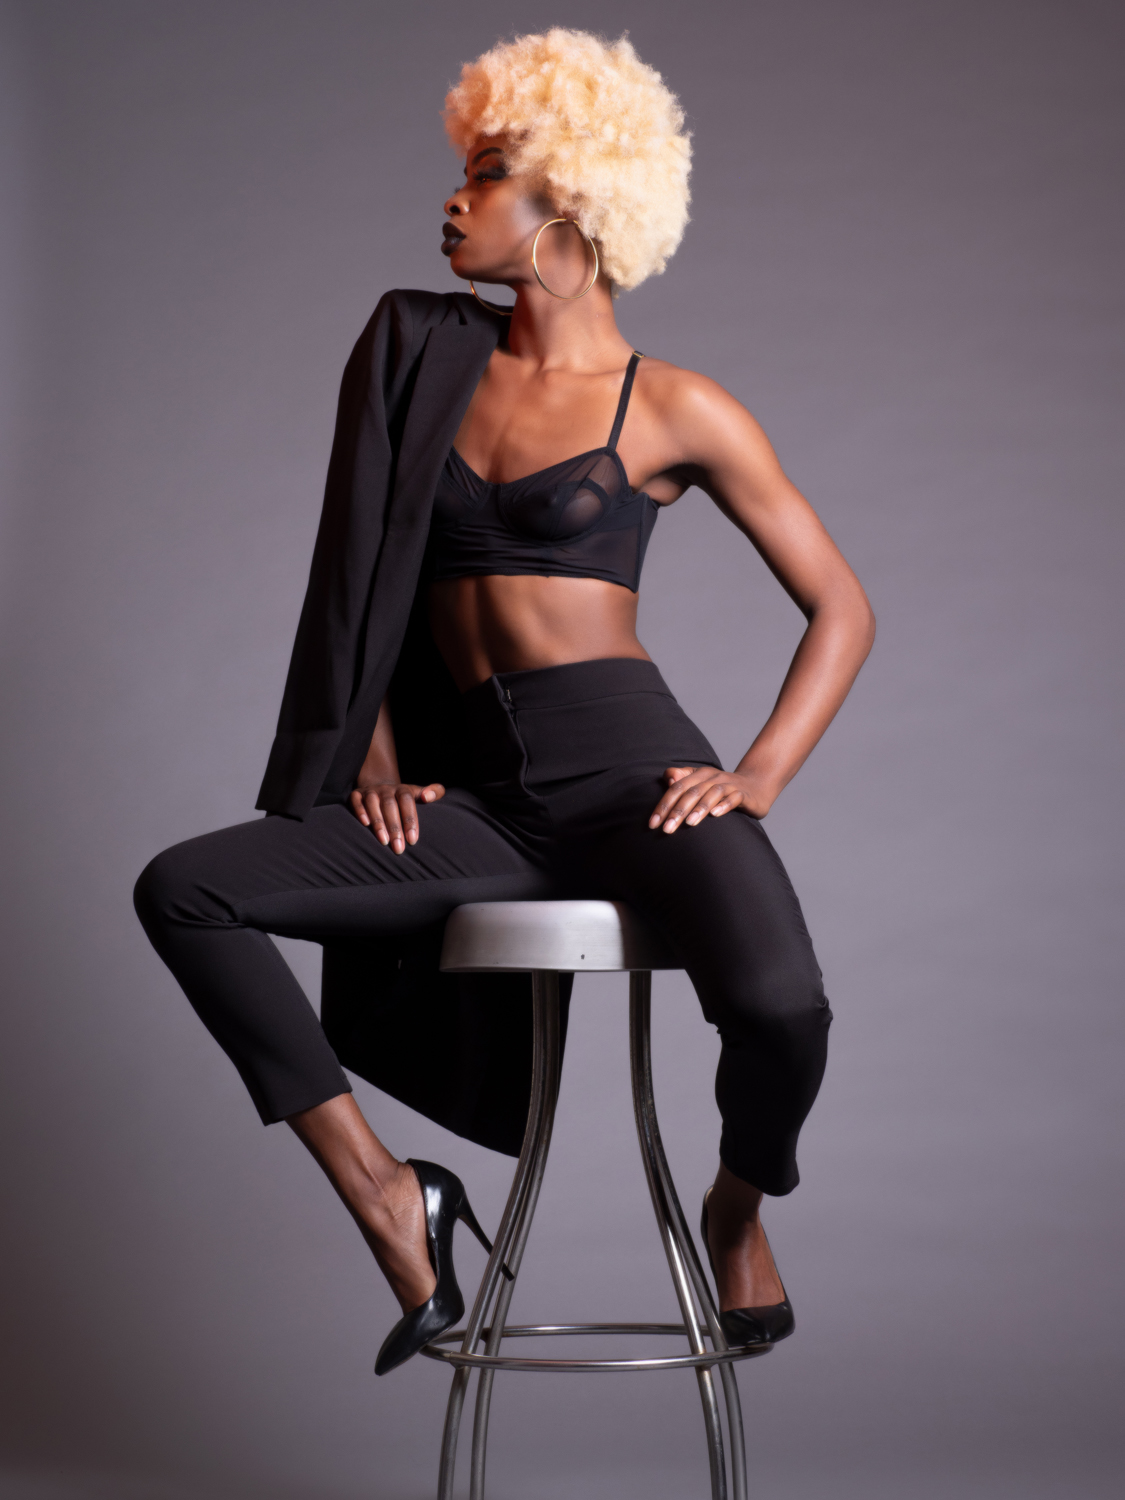
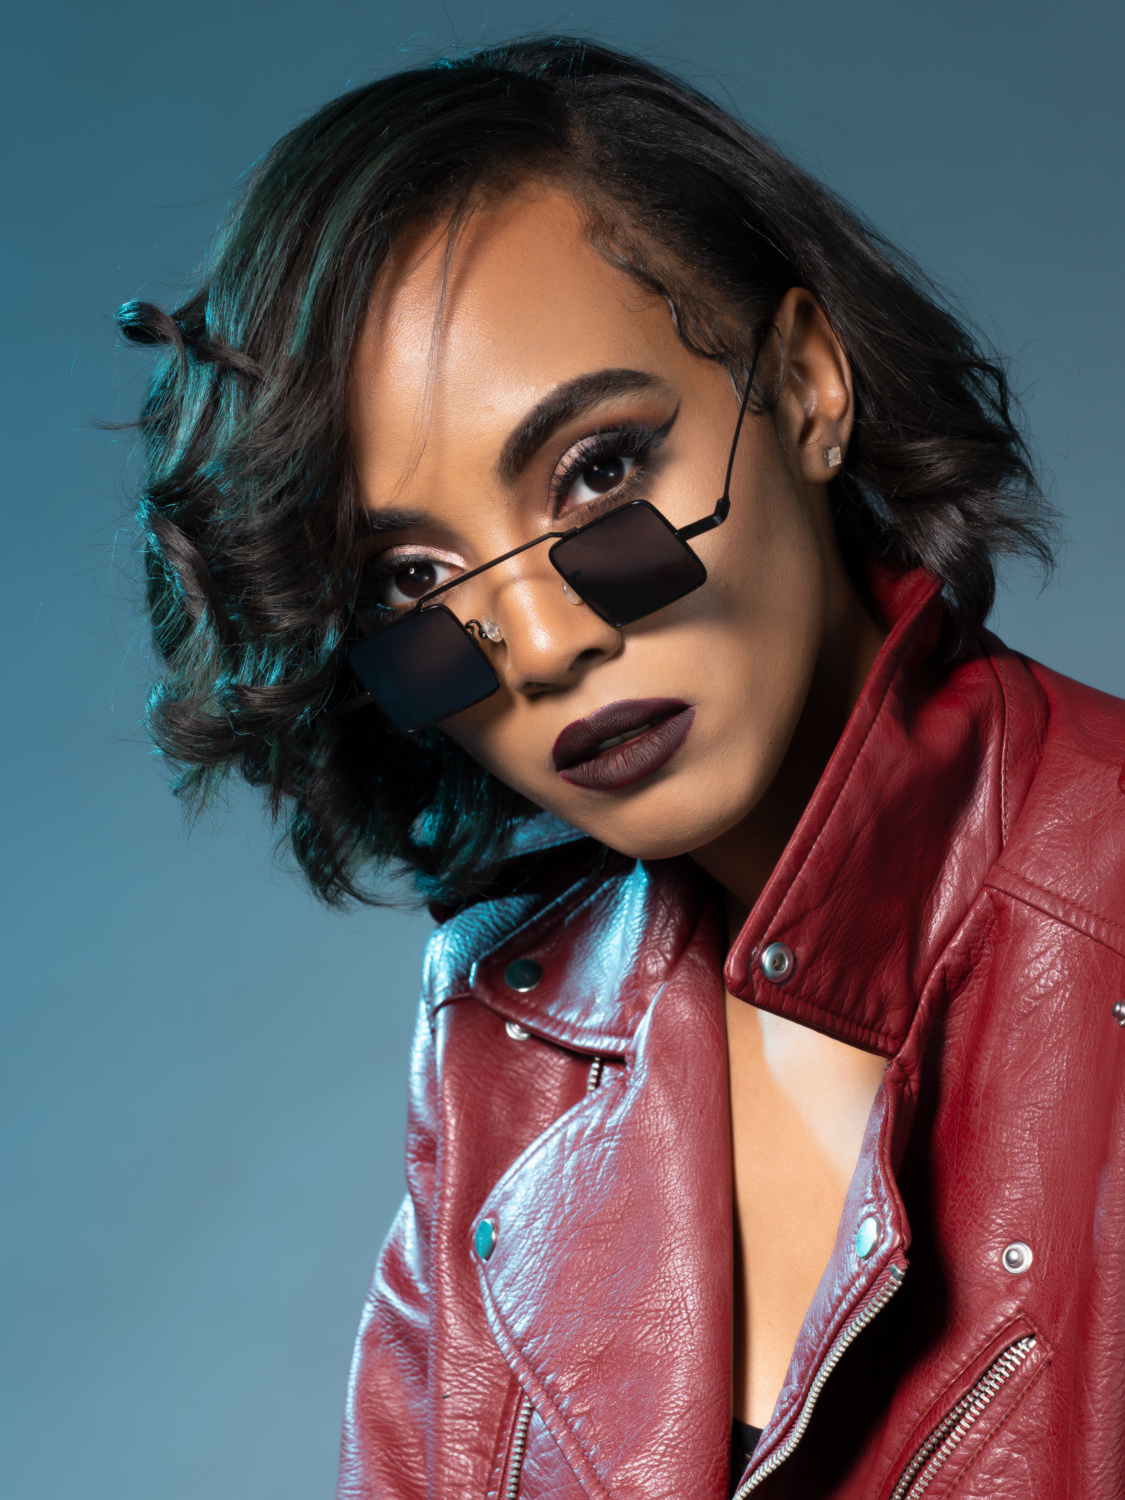
In this second shot I blast the background with a blue gel to make the white background blue and use the same color gel with a strobe behind the model to light the side of her hair from behind.
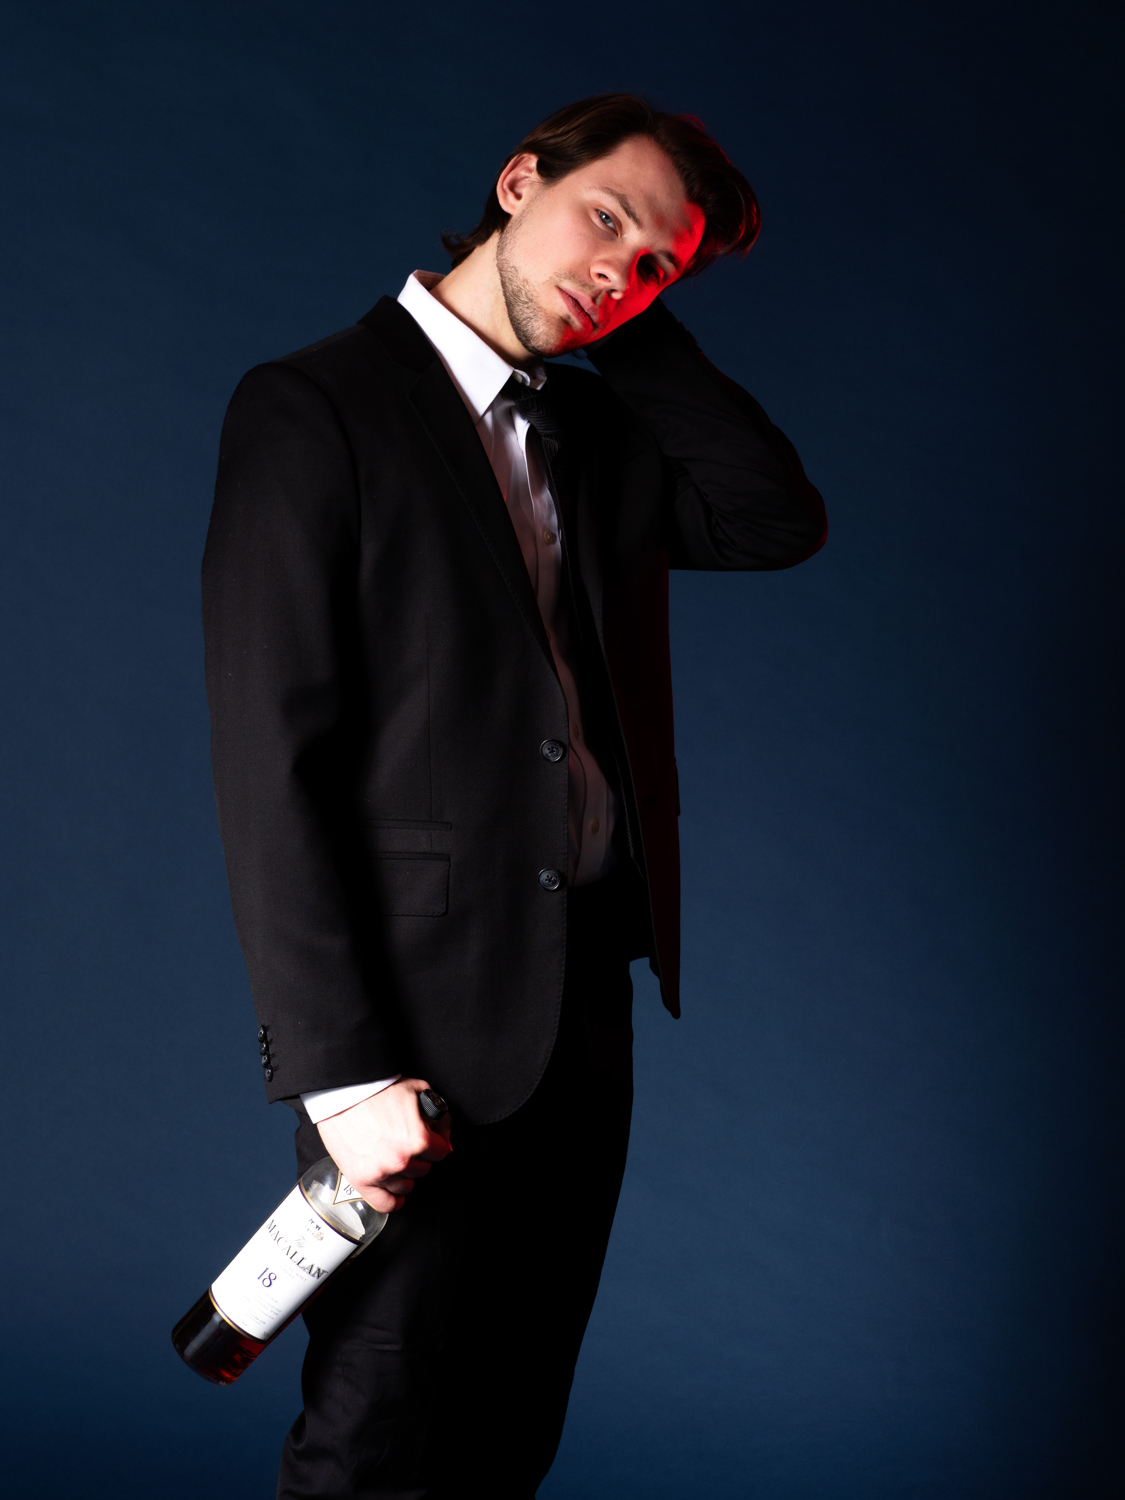
The red edge light is unmistakable in this actor’s pose. It adds an additional sense of despair to his tilted head and the bottle in his hand.
“All photographs are accurate. None of them is the truth” – Richard Avedon
Studio photography has changed my life. I get to meet people I would never have met. I get to work with other creatives and artists out to do something of intrinsic importance and possibly in my dreams lucrative as well. I don’t have to leave the comfort, once it’s set up, of the studio, I’m a bit of a hermit.
The Avedon quote above is a very powerful statement about human perception. About our inability to discover the truth.
I hope to see you in my studio.
“I was born and raised in NYC and live in Manhattan with my wife and two girls. After school, I spent 5 years as a clinical geneticist until making a career change and spending the next 30 in financial technology. I became interested in studio photography three years ago after attending a free lighting seminar at Adorama. While an avid life long consumer of art in various forms this is my first attempt at fulfilling my own creative goals.”



Jan Steinman
April 20, 2020 @ 16:07
Nice work!
I’d never heard of Flashpoint monolights. I’ve been using Speedotron Blackline pack-and-head strobes.
Is there any particular reason you chose monolights over pack-and-head?
I’ve heard people complain about the cords, but it seems to me that running AC extension cords all over isn’t any better, no?